|
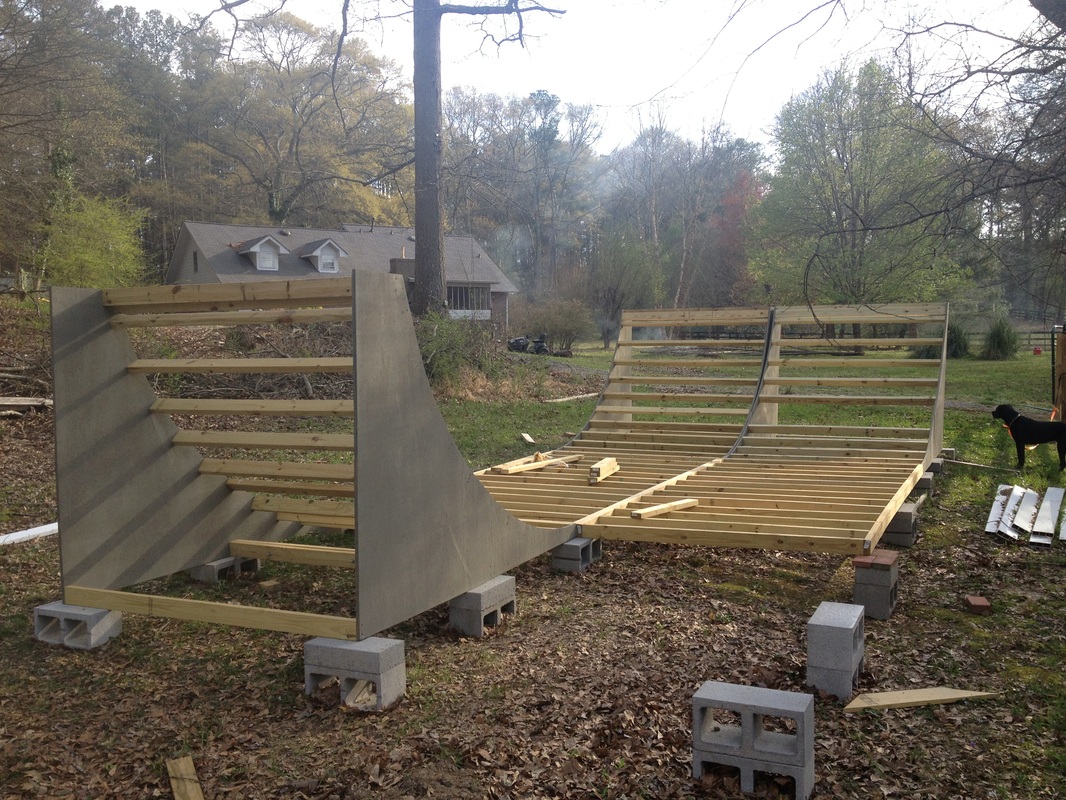
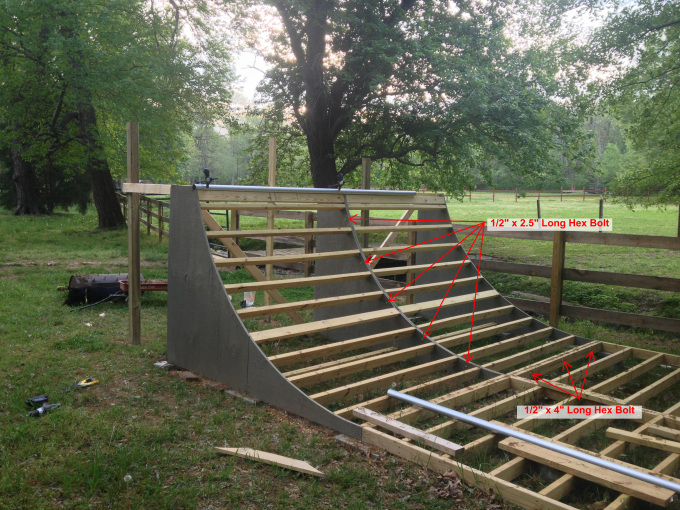
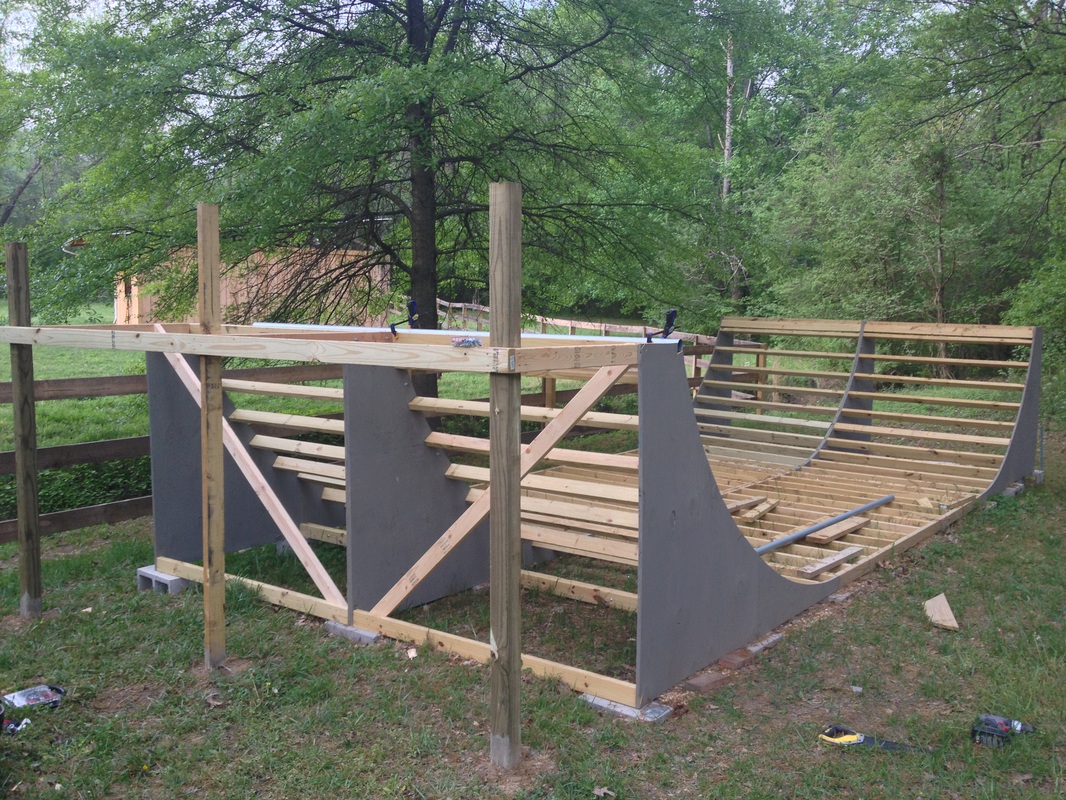
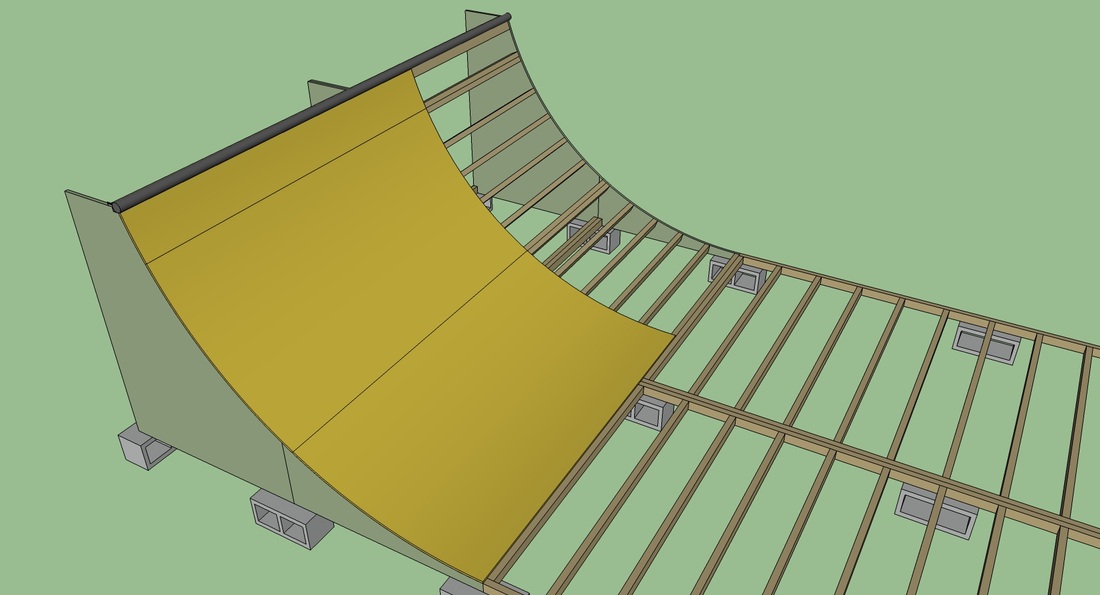
This custom made vinyl tarp is the best! I have had it for about 6 months now and the masnonite underneath has never seen a drop of water....while its on. There was one time when I was being lazy and left it off and a pop up shower happened. I was able to run out there and get it covered before it started pouring. It takes me less then 2 minutes to cover and uncover. If you have an outdoor ramp and can't afford Skatelite or Ramp Armor I highly suggest getting one of these made. I bought it from www.tarpsupply.com, its 18oz vinyl. I sized it 1 foot bigger on all sides than my ramp dimensions. Wow! It’s been a while since I posted, probably because I finished the ramp and have been too busy skating, but I am determined to finish this blog about my half pipe build... so here we go. Putting together the transitions is what I'll be talking about today. Use your measurements from Design Step 5 and layout all of your supports on each transition’s side piece. Cut out all of your 2x4s to length and make sure you subtract the thickness of the plywood. You will want a buddy for this next step. Stand up one transition side and screw a 2x4 to it from the outside, start with the 2x4 at the very bottom where the transition meets the flat section. Use a minimum of two screws. Stand up the opposing side and screw it to the 2x4. Follow your layout markings and keep screwing 2x4s on one side and then other until you have complete ¼ pipe. Build three more ¼ pipes and your ramp will be all framed up. Once all your quarter pipes are built and in position you need to bolt them to the flat section and to one another. Also a good idea but not necessary is to stabilize the quarter pipes with some cross bracing. See below photos.
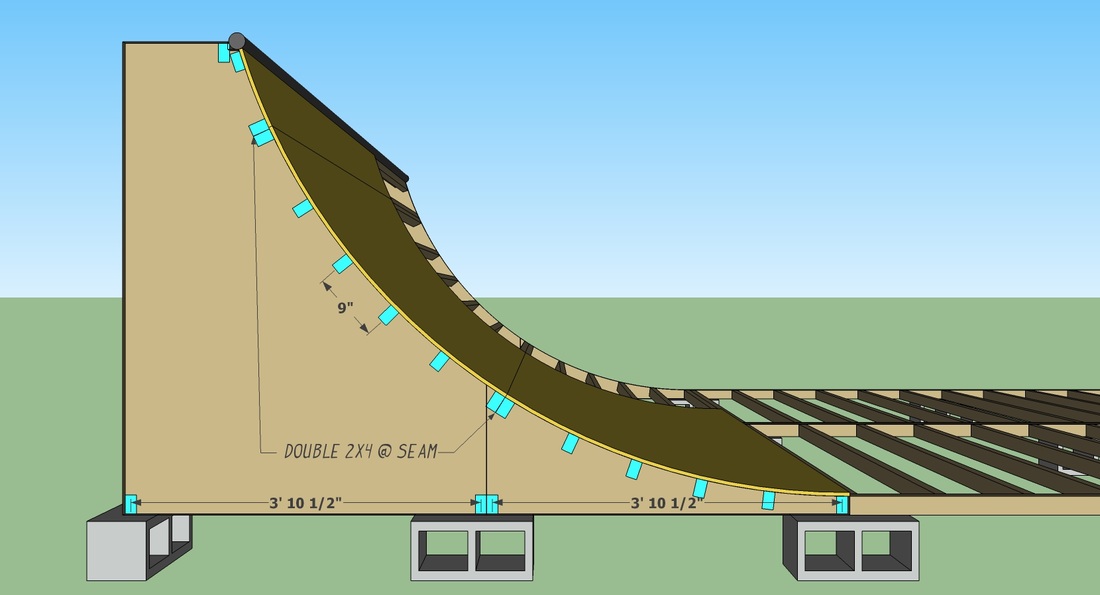
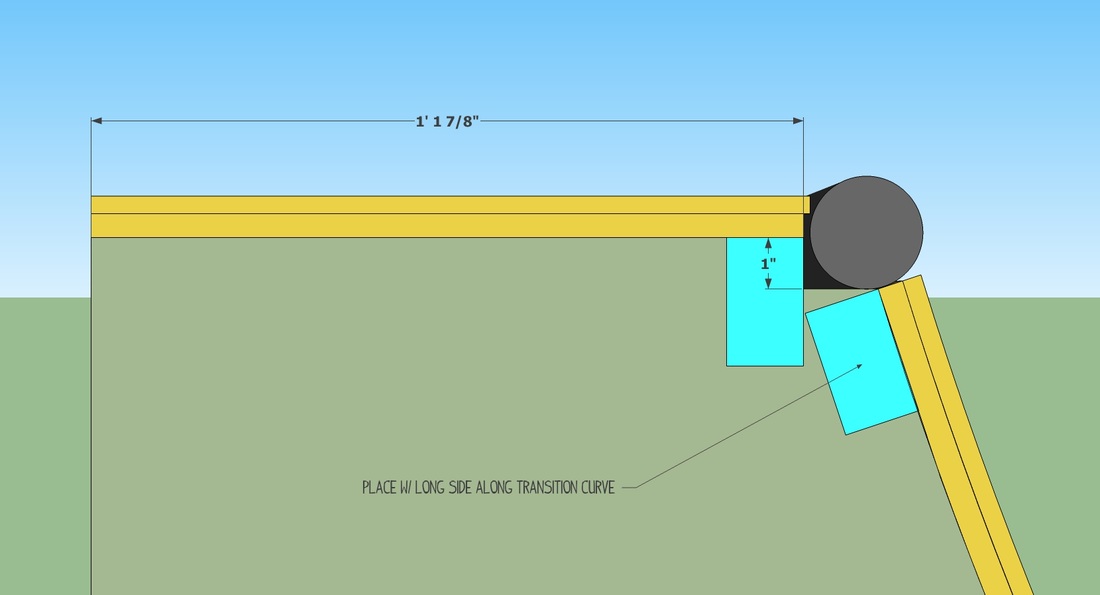
You want to use a similar approach for designing the transition supports studs as you did on the flat section; however this is the main impact section so you’ll want them closer together. The closer they are the less chance of punching through the ply when you come down from that monstrous indy. This ramp is designed with the studs laid out 9 inches, center to center. Another factor that needs thought before you lay out the studs is where the plywood seam is going to fall. The seams will be every 4 feet from the start of the transition. Finally we must know where the coping is going in order to place the studs that support it. We will be using 2” EMT conduit for the coping which has a 2.2” outside diameter. You want your coping to stick out at least a ¼” on the top and front. To achieve this, the top two studs will need to be arranged as shown in the below diagram.
Stain the sides. Yes, stain not paint. Stain will seep into the wood and not peel and crack overtime. I used BEHR House & Fence Wood Stain and added a color to it. There is actually a wide variety of colors to choose from. You can choose to do this step after you finish building the ramp but if you want to completely coat each side, now is the time do it. Tools needed for this step:
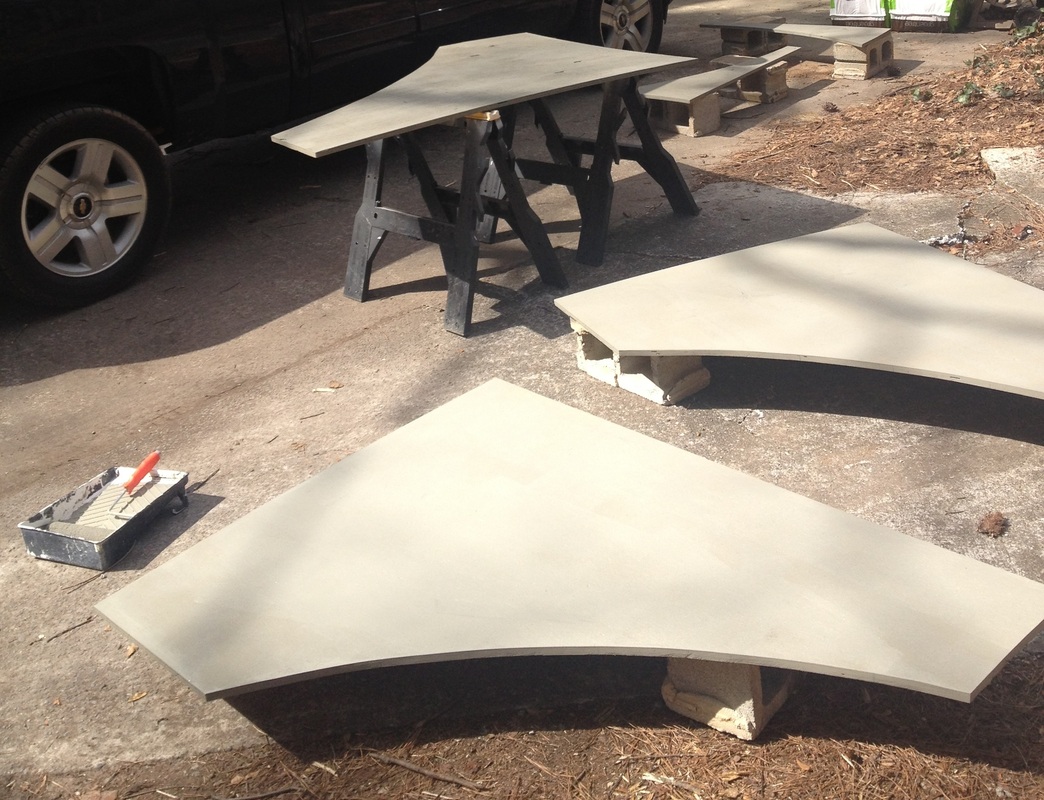
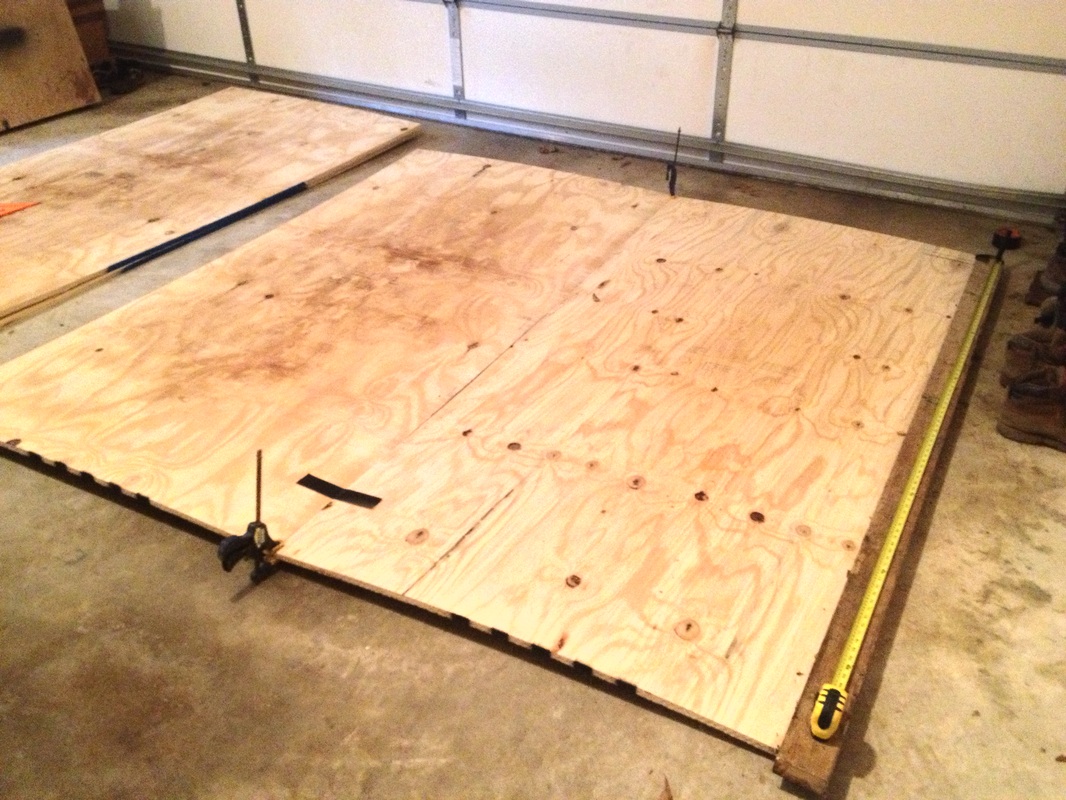
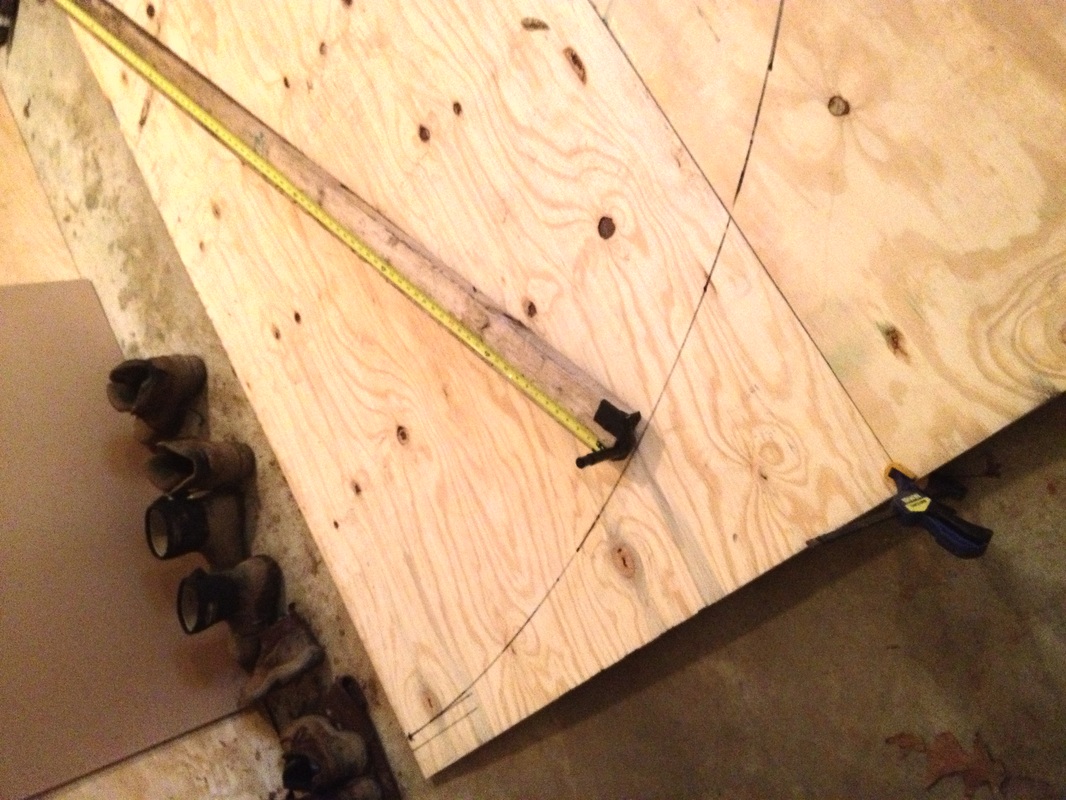
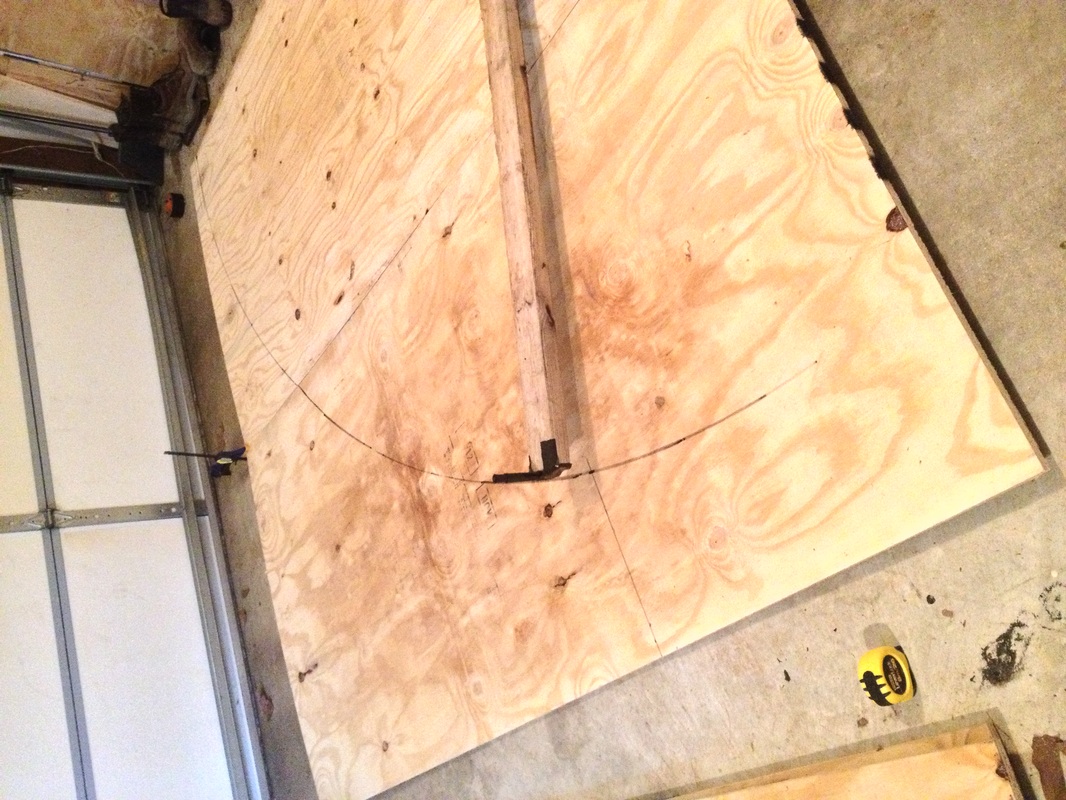
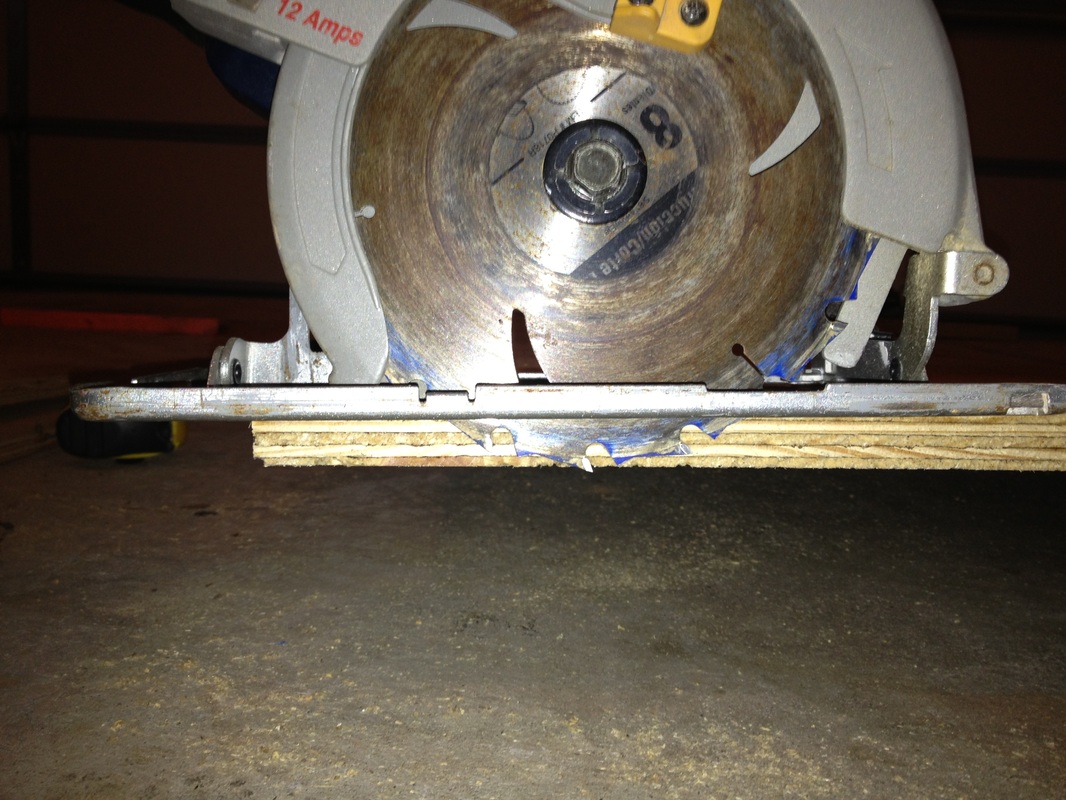
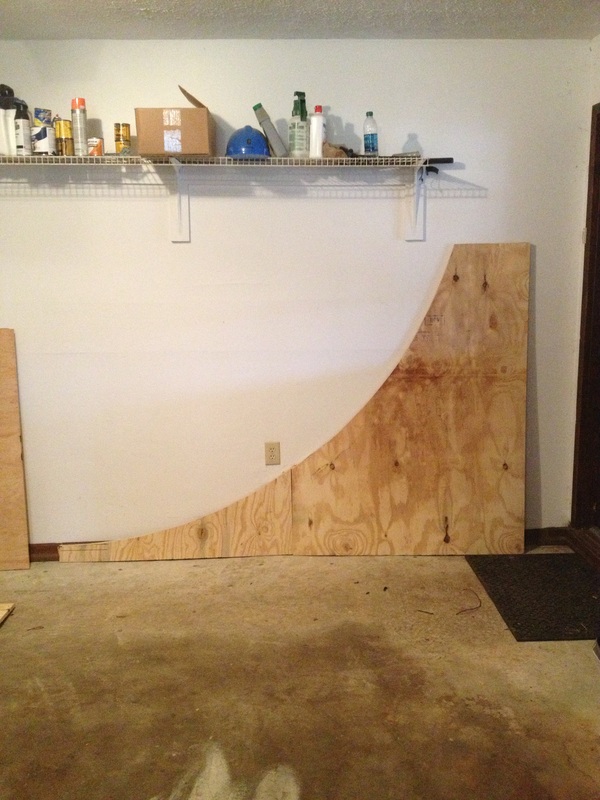
This step is all about cutting out the sides (transitions) of the ramp. The sides are built out of ¾” thick plywood. You will need 8 of them for this ramp design. Start by laying out two sheets of plywood on a flat surface and butt them together along the 8ft sides. Now it’s time for the most import part, drawing the arc that will be your transition. Refer back to the radius that was decided on in Design Step 4. This ramp is using a radius of 7ft. Grab a 8ft long 2x4 and put a 2” screw in one end about one or two inches from the very end. From that screw measure 7ft and mark it. Now you can either drill a hole through the mark large enough for a pencil to slide through or cut the 2x4 at the mark and tape a pencil to the end. If you are going to tape a pencil just make sure your account for the pencil thickness in your overall measurement. Next, go to any corner of the plywood and measure 3-1/2” along the 8ft side. This will be where you place the pencil tip. Once the pencil location is set, screw in the other end of the 2x4 to the plywood. Begin dragging the 2x4 along the plywood and it should be drawing a perfect arc. After, your arc is drawn switch to the mirrored corner of the plywood where you made the 3-1/2” measurement. From here measure up 5’ 2-1/2” along the 8ft side. This is the ramp height. From the 5’ 2-1/2” measurement draw a straight line perpendicular from the 8ft side until it intersects with the arc. You should now have a complete outline of the side of the ramp drawn across the two sheets of plywood. Use a jigsaw or circular saw and cut it out. If you’re going to use a circular saw lower the base plate so the blade is just barley longer then the plywood, this will make it easier to follow the arc when you’re cutting. You can now use the side you just cut out as template to draw the rest. Tools needed for this step:
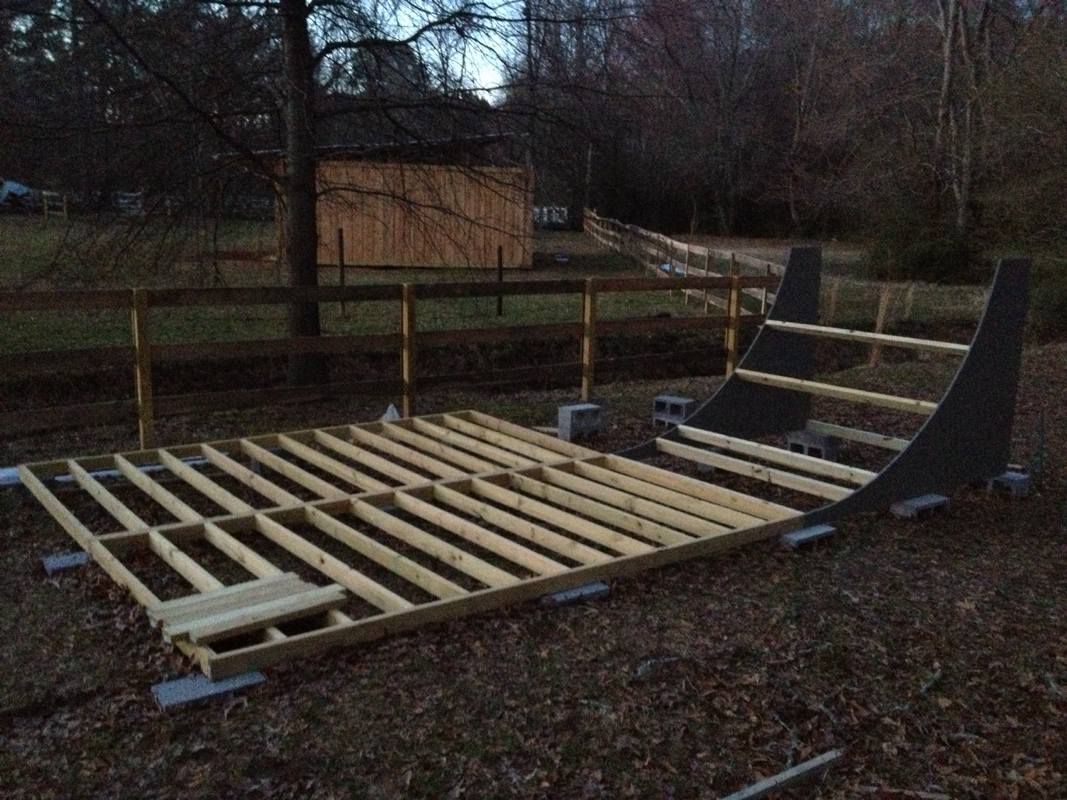
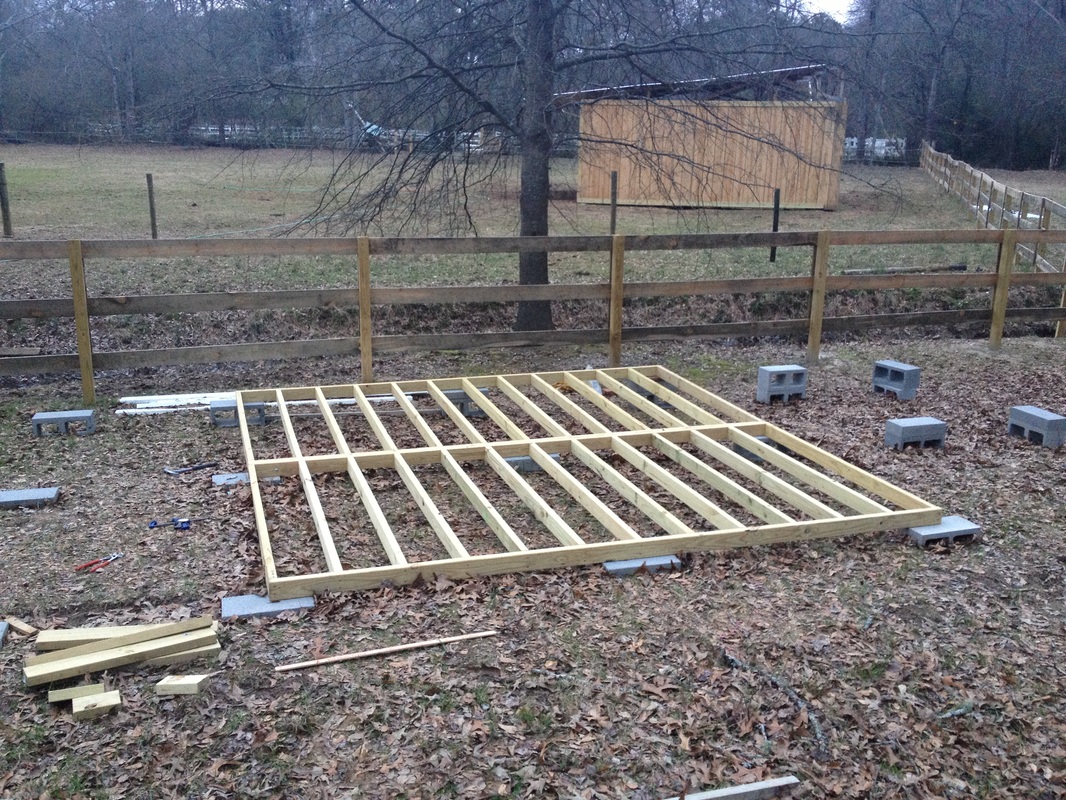
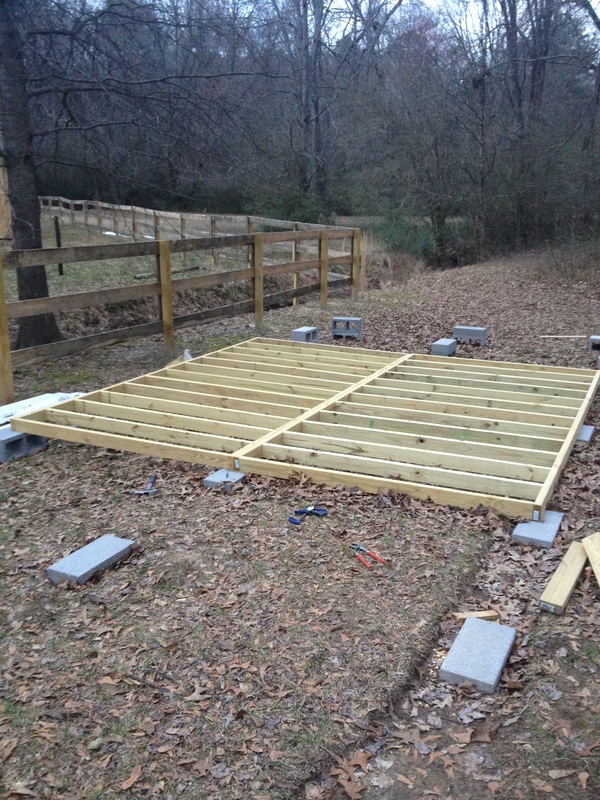
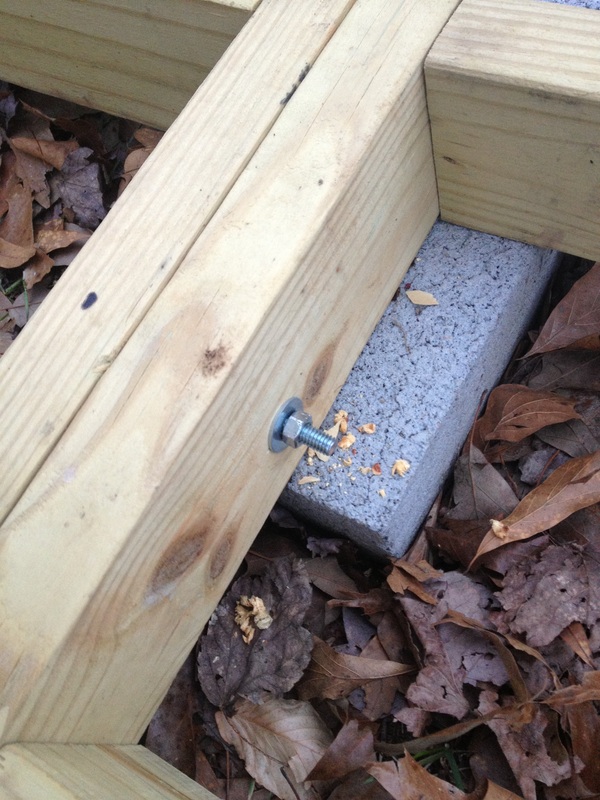
In this step we will be framing the flat (middle) section of the half pipe. This section will be built out of two identical 12 ft long x 6 ft long frames. Start by cutting out all your 2x4s to length. Don't forget to trim the 12 ft long 2x4s because they will actually be a little bit longer then 12 ft when you get them. Now that you have everything cut out start by making a 12x6 rectangular frame. After the frame is built proceed to screw in the remaining 2x4s evenly spacing them (refer to measurements in Design Step 3). Use four screws per 2x4. Next build the other 12x6 frame and then bolt them together between every other 2x4. Tools needed for this step:
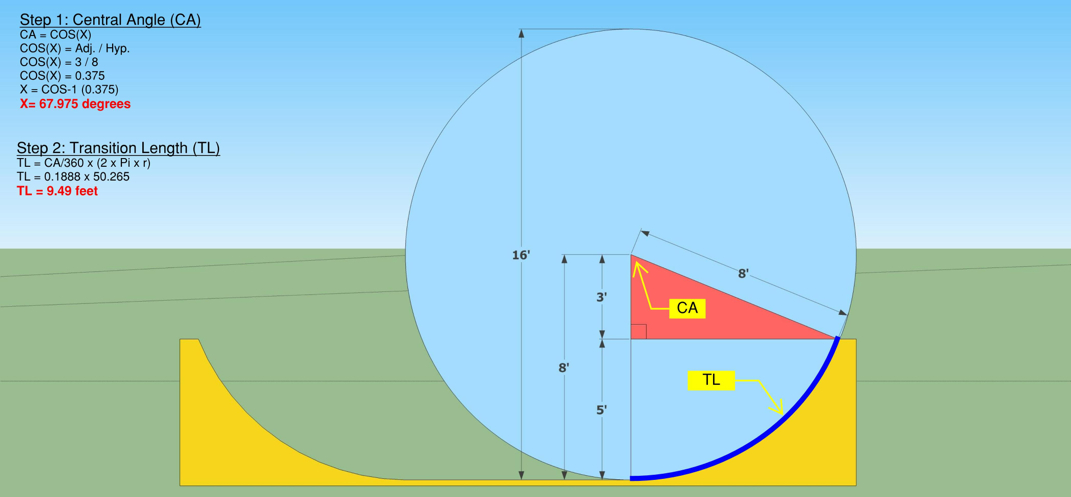
This post is in response to some questions I got about finding the length of the transition. This would be the distance from the flat to the coping. It can be found by using good old geometry and a TI-83 (or some other scientific calculator). See the below illustration explaining this process. A 5ft tall half pipe with 8ft of transition radius is used as an example.
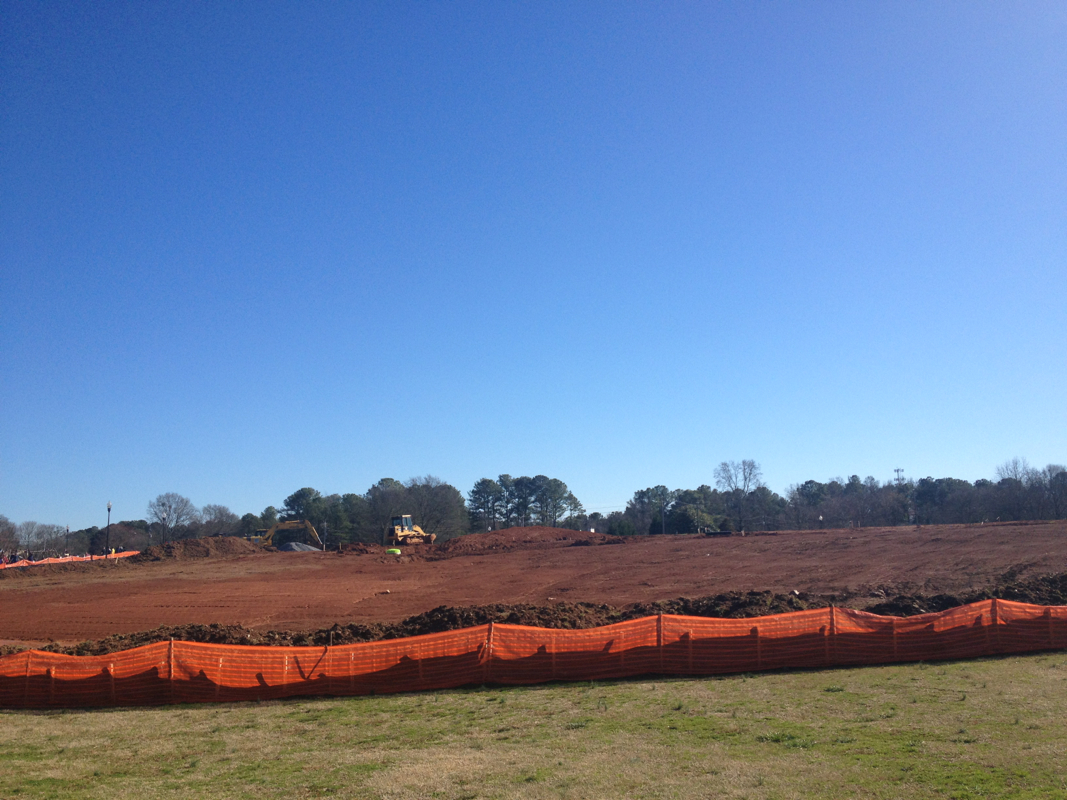
Went over to Swift-Cantrell yesterday. Still just doing a lot of site work. Can't wait to skate!
|
HOW TO DESIGN A HALF PiPE
All
HOw TO BUILD a half pipe
All
|


