HOW TO DESIGN AND BUILD YOUR OWN HALF PIPE
"Just wanted to drop you a comment and say thank you for the 5' half pipe design you posted on the site.... I've been researching for six months or so ( I'm building 4'x16' mini) and your insight and explanation is spot on and by far the most thorough and well written I've come across. Especially the foundation part. Thanks again!"
Matt
-
1. Laying out the Foundation
-
2. Leveling the Foundation
-
3. Framing the Flat
-
4. Cutting out the Transition
-
5. Stain the Transition
-
6. Build the Transitions
-
he
<
>
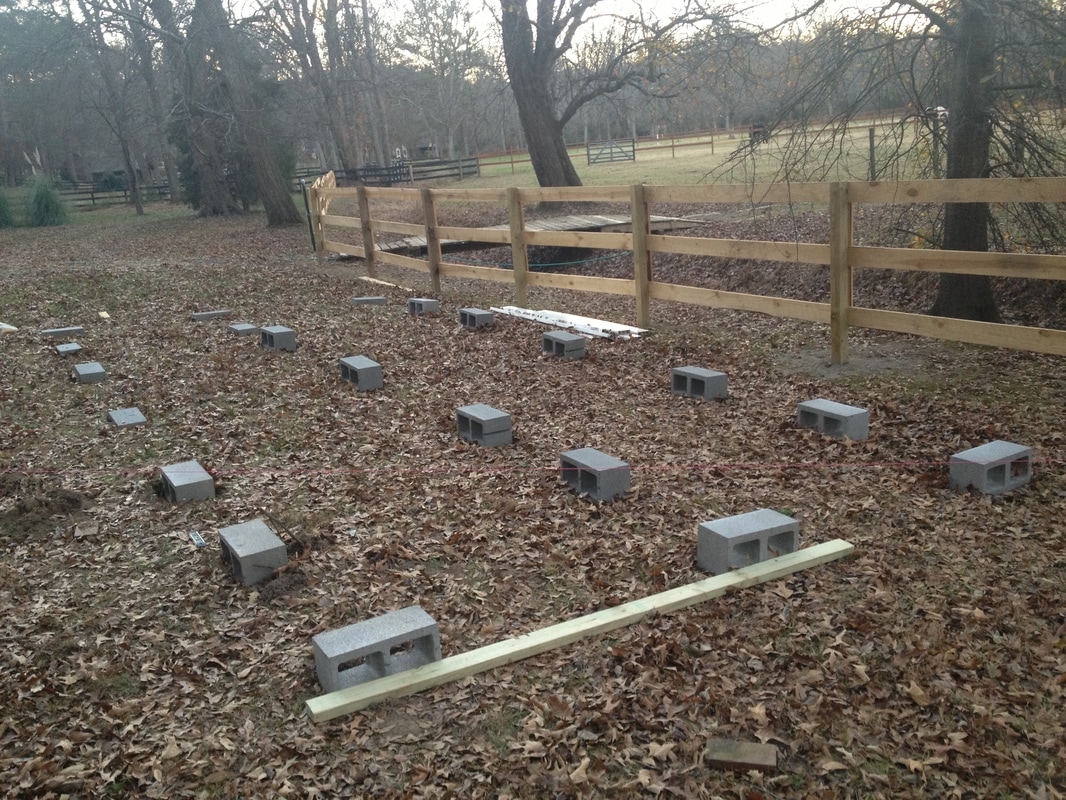
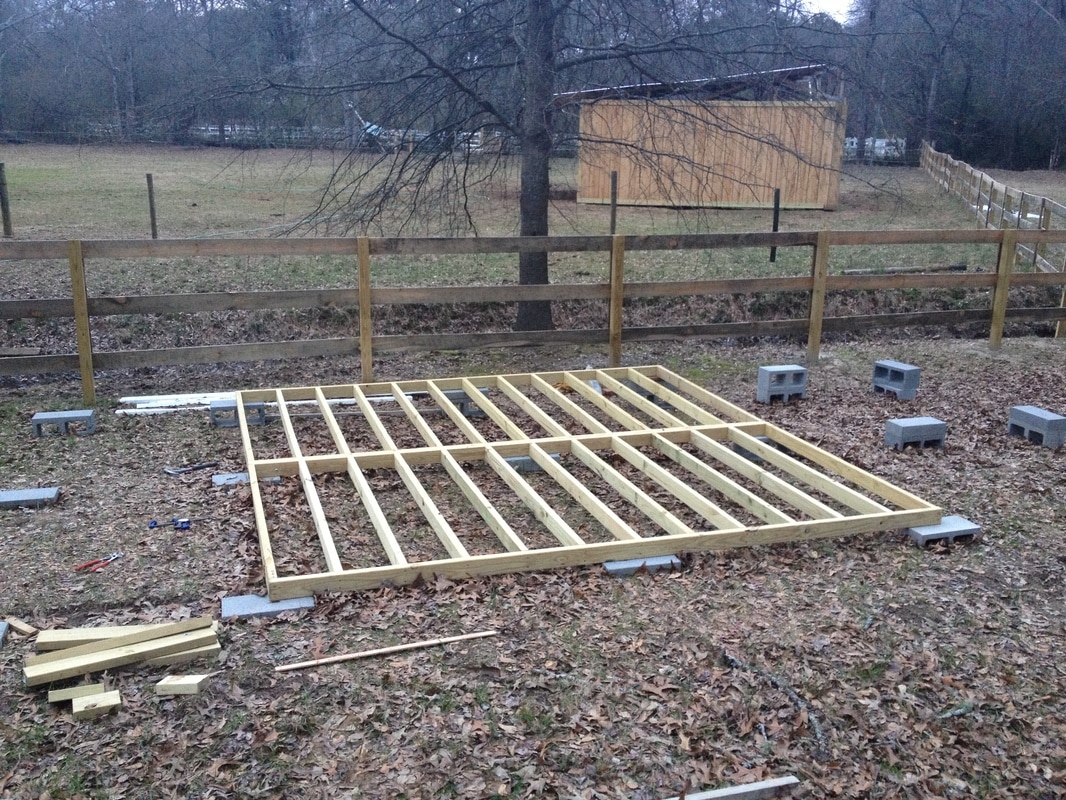
Finally got all my foundation blocks laid out!
You will need 21 blocks for this design. The blocks you will need are 8x8x16. My site is a lot lower on one end then the other so I got some thinner blocks (4x8x16) for the low side.
Before you start laying out your blocks I found it super helpful to cut three pieces of scrap wood to the three dimensions between the blocks. (1 = 2'10", 1 = 5'4", 1 = 4' 8-3/8") This will save from having to pull out the tape a thousand times. Getting somebody to help you with this would also save a bunch time.
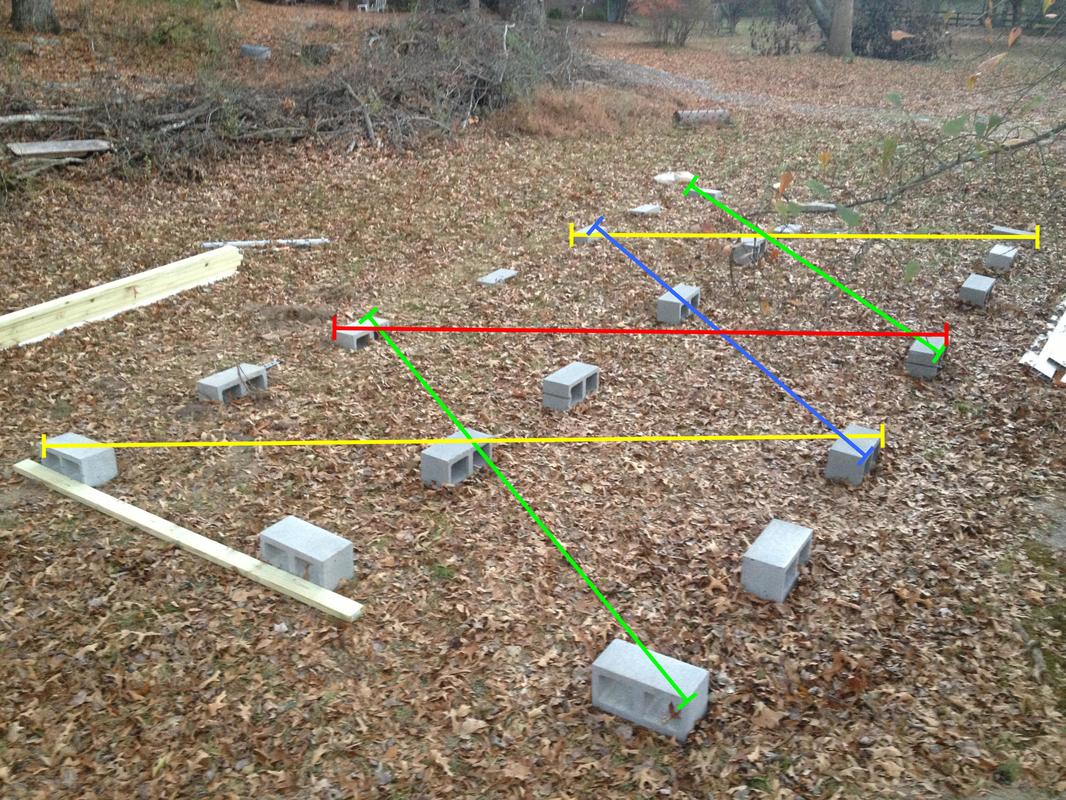
Once you have them all laid out you want to check and make sure they are square. You do this by measuring diagonally across the blocks. I broke it up into 3 sections, see above picture. The green lines should = the yellow lines and the red line = the blue line.
Next step is to start leveling the blocks.
Tools needed for this step:
Materials needed for this step:
- tape measure
- hand saw or circular saw
Materials needed for this step:
- 21 concrete blocks = $1.25ea.
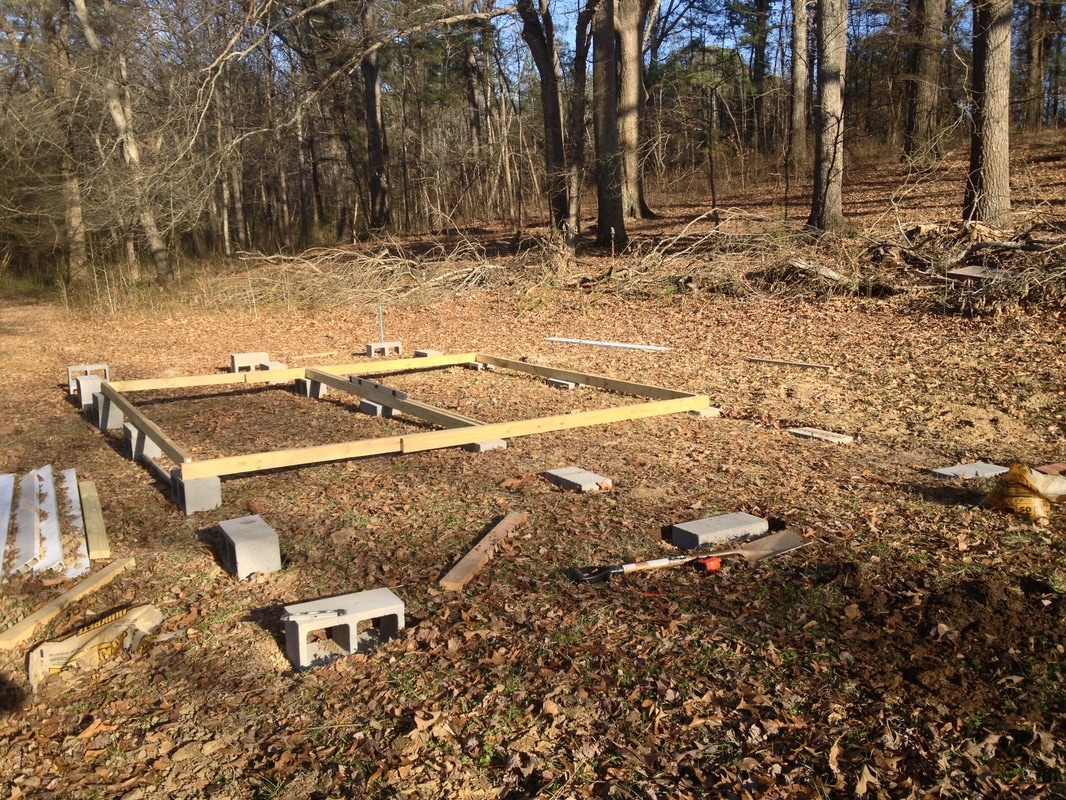
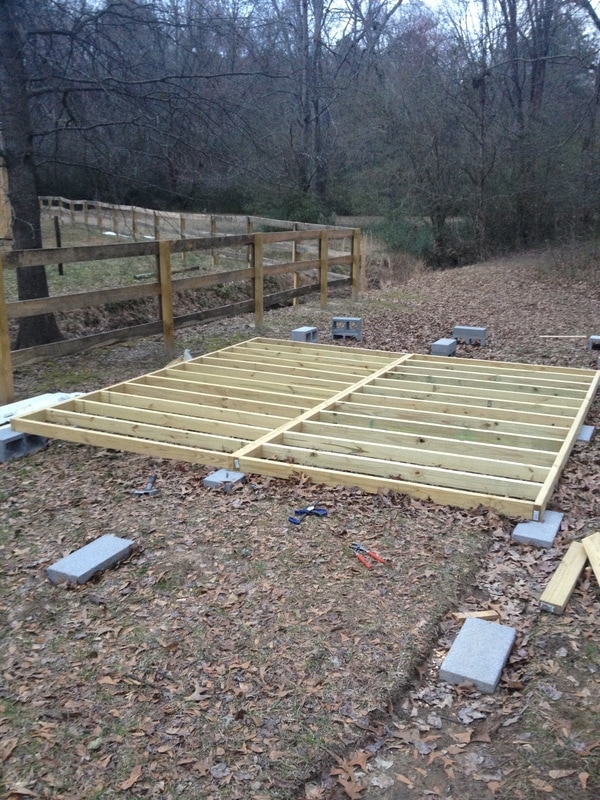
Awwww yeah got the foundation all leveled up. I would highly recommend finding a very level area to build your half pipe. The area I chose had about a 16" difference from corner to corner. This made it more difficult than it needed to be. I ended up purchasing several different sizes of CMU blocks to make it work.
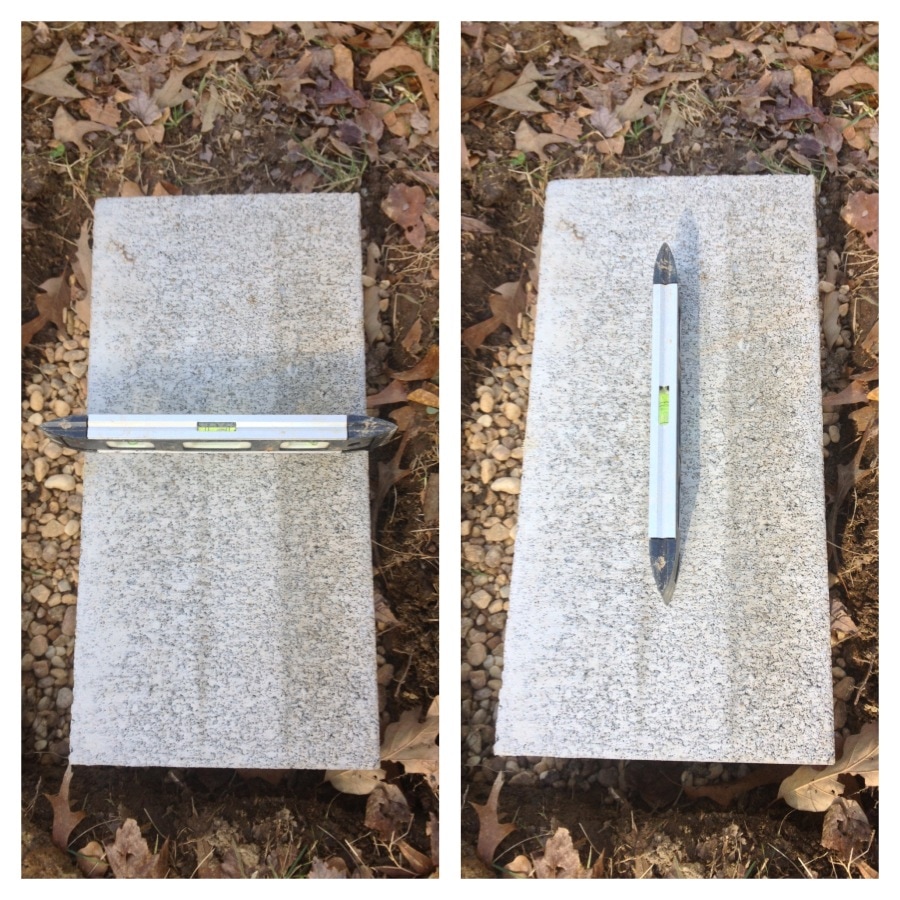
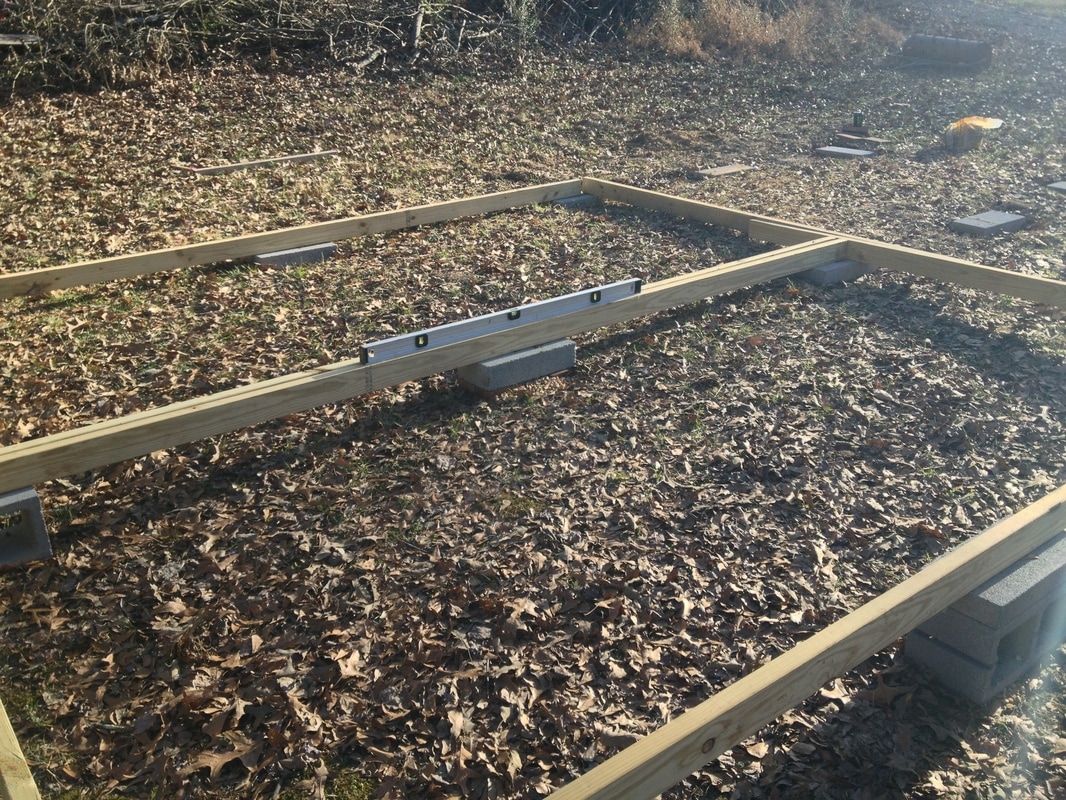
Start leveling the block that is at the highest point on your site. Once you have figured out what block that is begin by digging a rectangle around it. Your rectangle should be about 2" bigger on all sides than the block. Dig it about 3" to 4" deep and try to keep the hole even. Once you have it dug out pour about 1/2" of gravel in to cover the whole base then smooth it out with your hand. Next, set your block down on the gravel in the center of the hole and check if it is level using your torpedo level along the X and Y axis of the block (see pictures below). If it is not level then add or take out gravel until it is. You may even have to dig a little more.
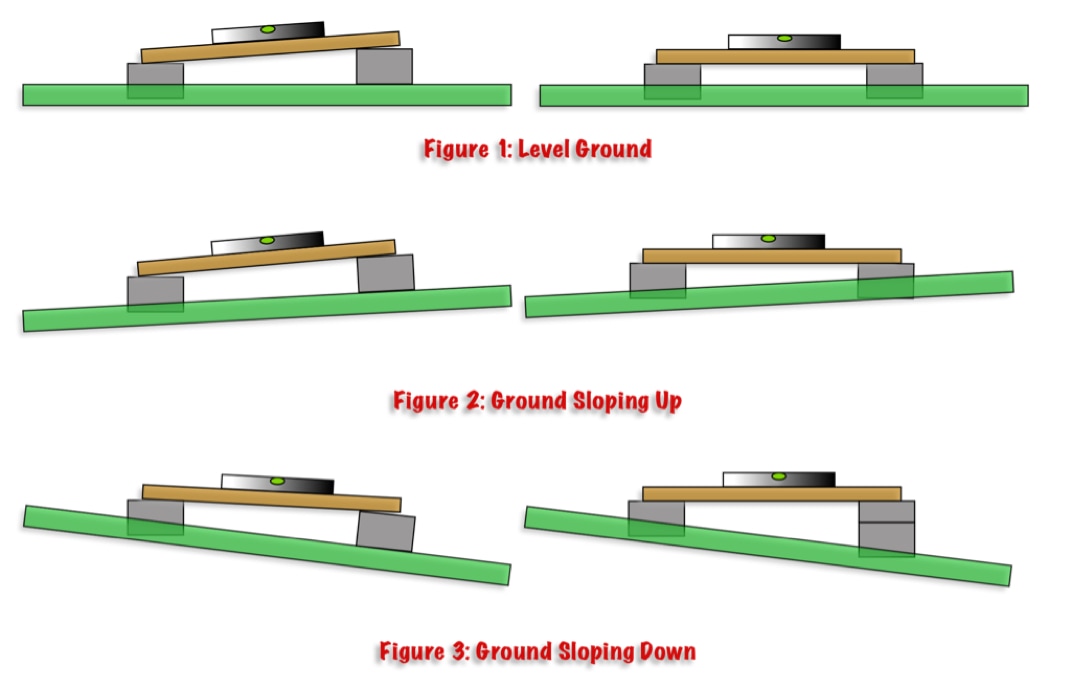
Now you’re ready to move to the next block. Place a 2x4 piece of lumber, skinny side down, across the block you just leveled and the next block. Place your 4' level along the 2x4. Depending on the location of the bubble you will need to either add another block or dig further down (see Figures 1 – 3). Note, if you are adding another block it is still a good idea to dig a couple inches down and add gravel. There are several different thickness of blocks available so it may benefit to have extra various sizes with you, especially if you have a site like mine. After you have leveled the second block repeat this step 19 more times!! When your done ever block should be level across the X and Y axis and the top of each block should be at the same elevation.
Tools needed for this step:
- Spade Shovel
- Torpedo Level
- 4' Level
- 3 - 50lb bags of all-purpose gravel = $3.88ea.
- 2 - 2x4x8 Lumber= $2.75ea.
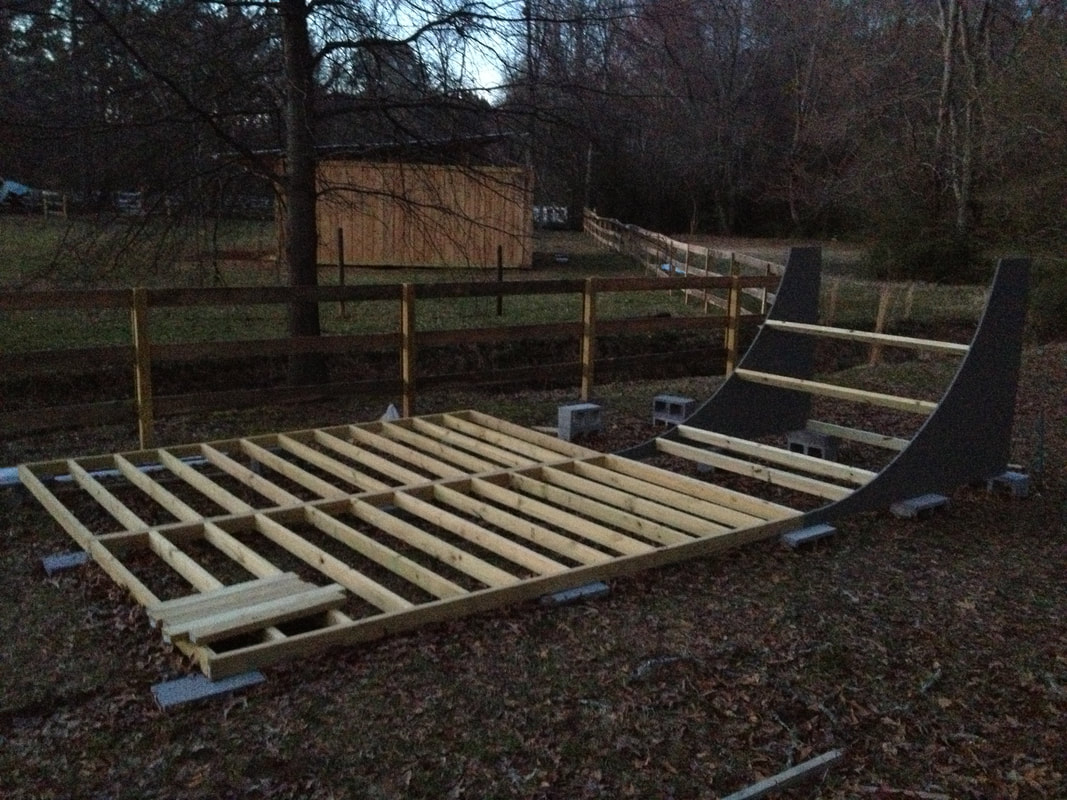
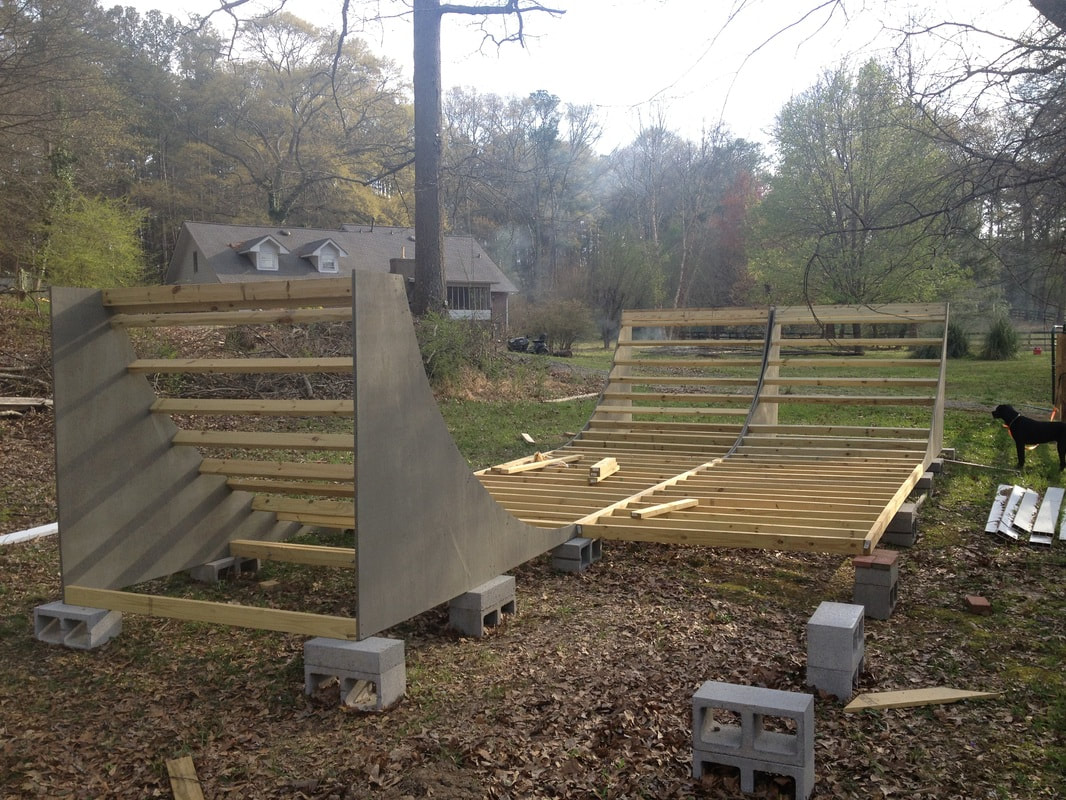
In this step we will be framing the flat (middle) section of the half pipe. This section will be built out of two identical 12 ft long x 6 ft long frames. Start by cutting out all your 2x4s to length. Don't forget to trim the 12 ft long 2x4s because they will actually be a little bit longer then 12 ft when you get them. Now that you have everything cut out start by making a 12x6 rectangular frame. After the frame is built proceed to screw in the remaining 2x4s evenly spacing them (refer to measurements in Design Step 3). Use four screws per 2x4. Next build the other 12x6 frame and then bolt them together between every other 2x4.
Tools needed for this step:
- Power Drill
- Tape Measure
- Carpenters Pencil
- 5/16" Drill Bit
- 17 - 2 x 4 x 12 Pressure-Treated Lumber = $6.27ea.
- 2 - 1 lb box #9 x 2-1/2 in. Tan Polymer-Plated Flat-Head Star-Drive Wood Screws = $9.37ea.
- 6 - 5/16", 4" Long Carriage Bolt w/ washer and bolt = $0.69ea.
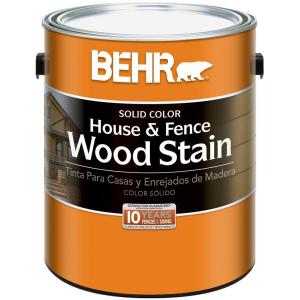
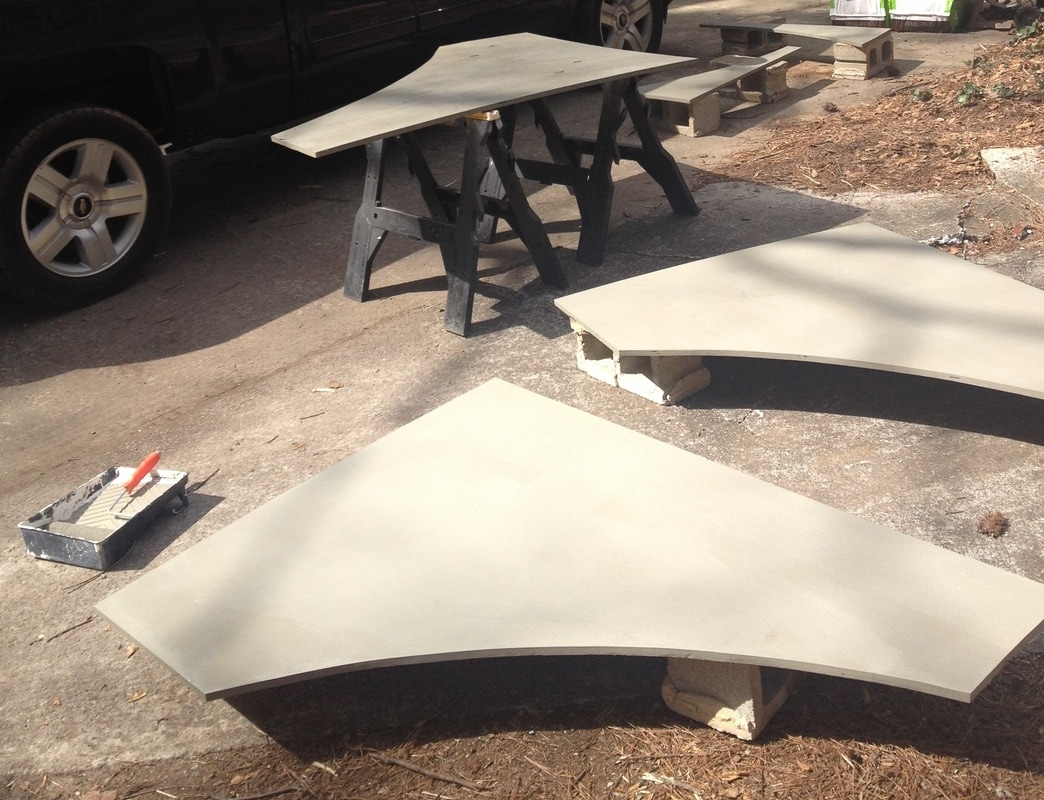
Stain the sides. Yes, stain not paint. Stain will seep into the wood and not peel and crack overtime. I used BEHR House & Fence Wood Stain and added a color to it. There is actually a wide variety of colors to choose from.
You can choose to do this step after you finish building the ramp but if you want to completely coat each side, now is the time do it.
Tools needed for this step:
- Paint Roller & Tray
- Paint Brush
- 2 - Gallons House and Wood Stain = $23.98ea.
Use your measurements from Design Step 5 and layout all of your supports on each transition’s side piece. Cut out all of your 2x4s to length and make sure you subtract the thickness of the plywood. You will want a buddy for this next step. Stand up one transition side and screw a 2x4 to it from the outside, start with the 2x4 at the very bottom where the transition meets the flat section. Use a minimum of two screws. Stand up the opposing side and screw it to the 2x4. Follow your layout markings and keep screwing 2x4s on one side and then other until you have complete ¼ pipe. Build three more ¼ pipes and your ramp will be all framed up.
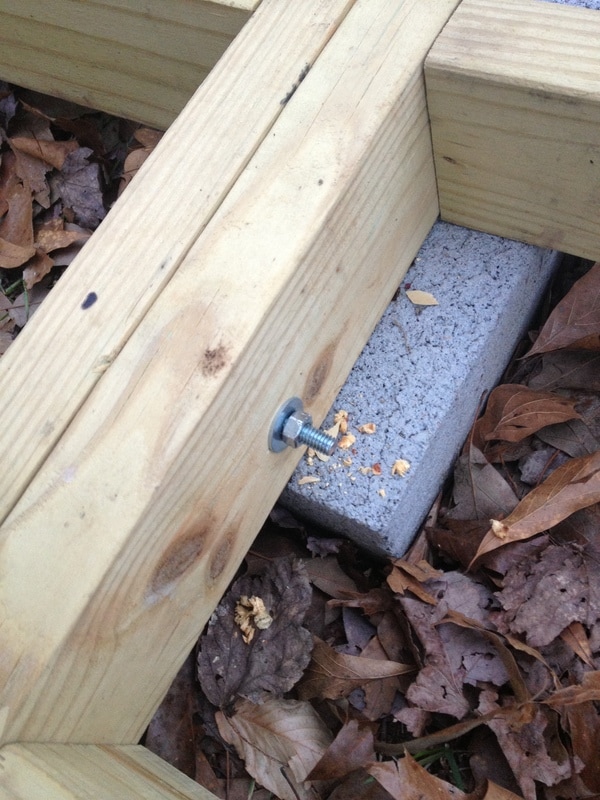
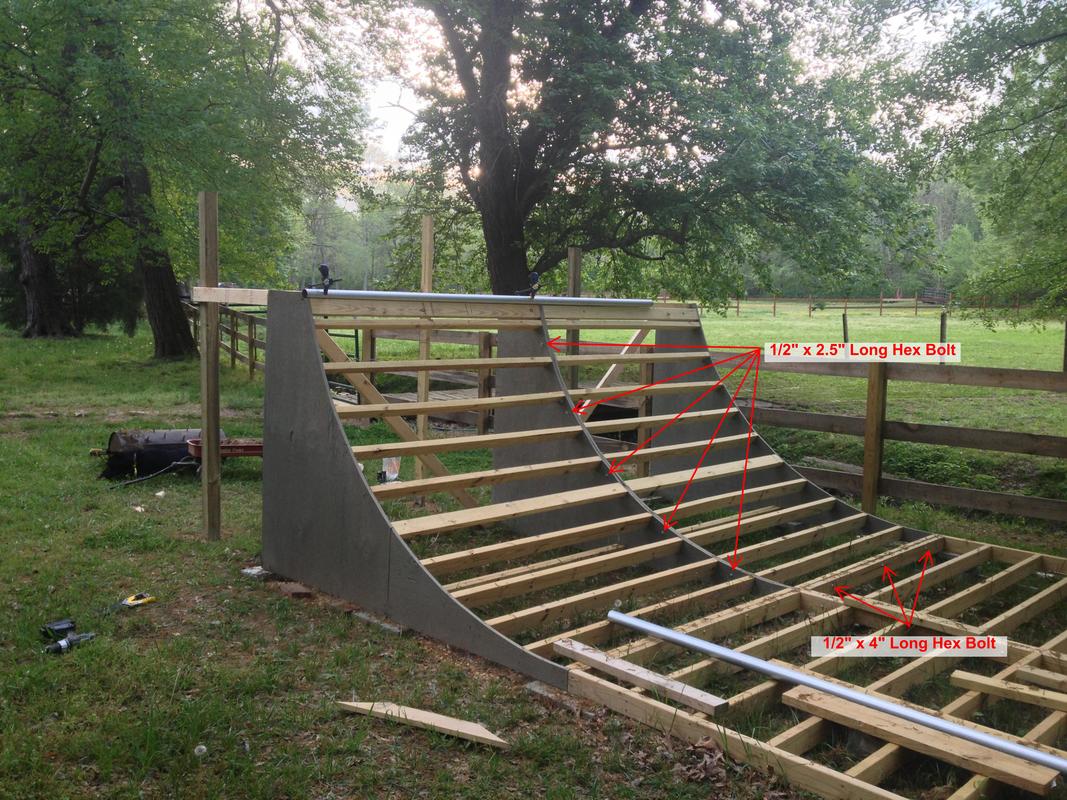
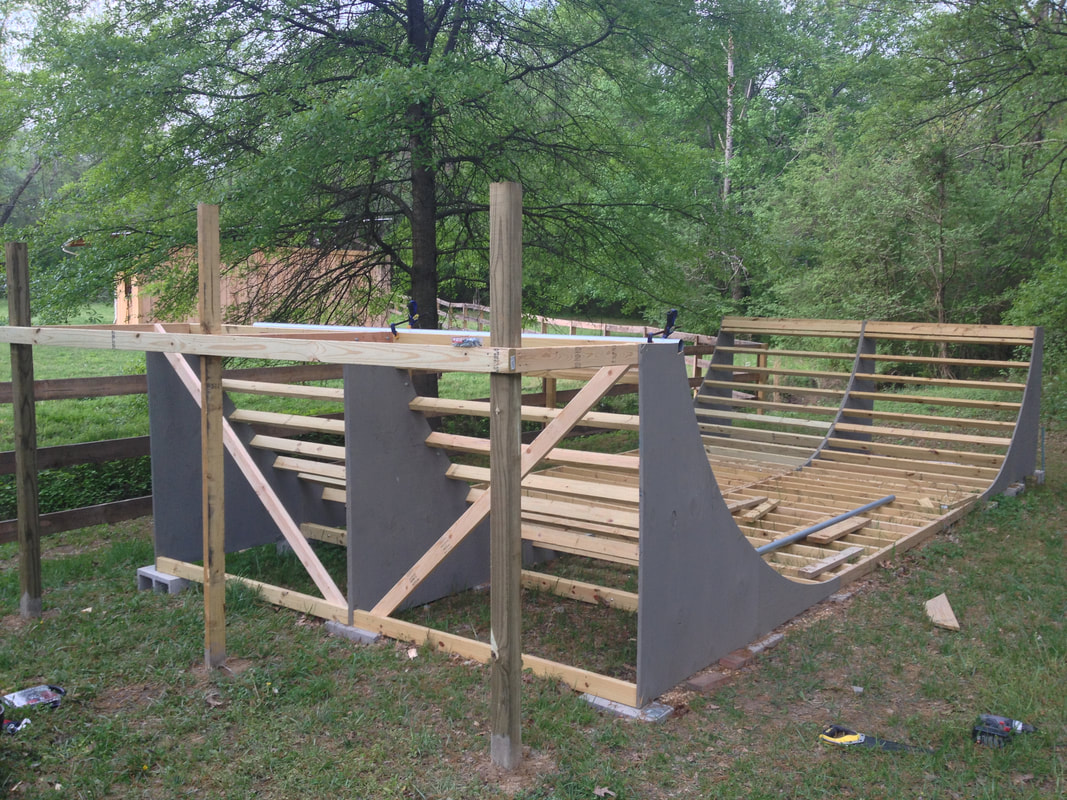
Once all your quarter pipes are built and in position you need to bolt them to the flat section and to one another. Also a good idea but not necessary is to stabilize the quarter pipes with some cross bracing. See below photos.
