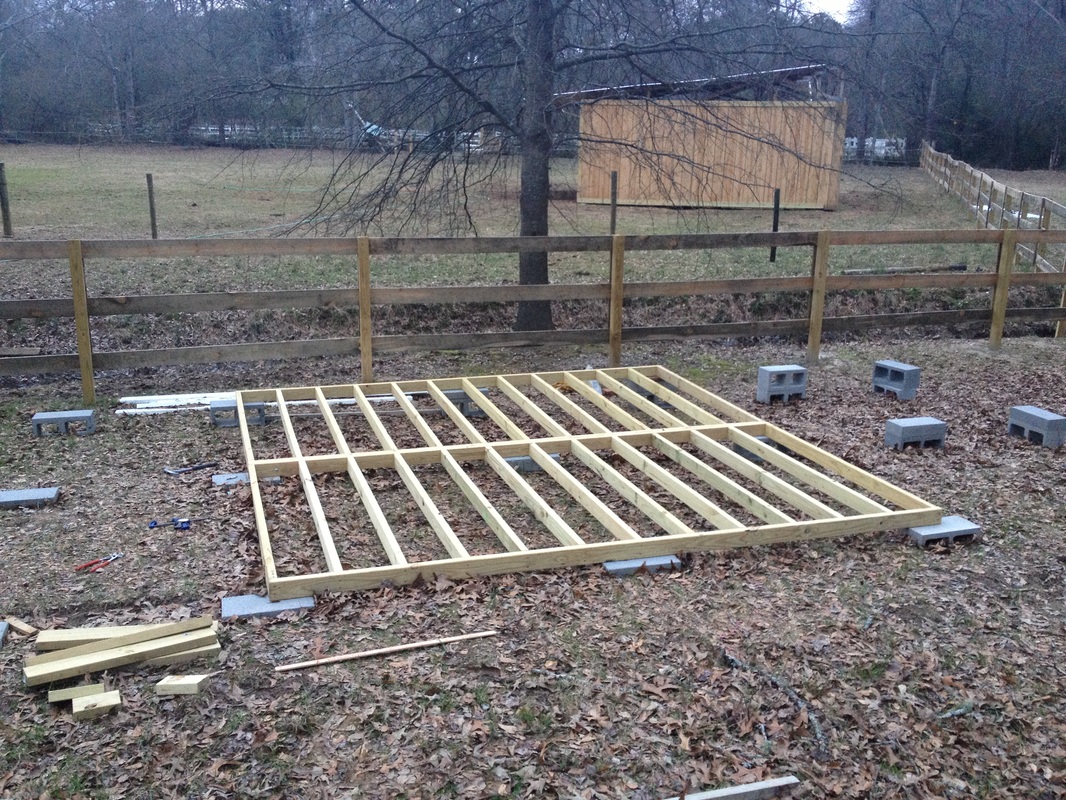
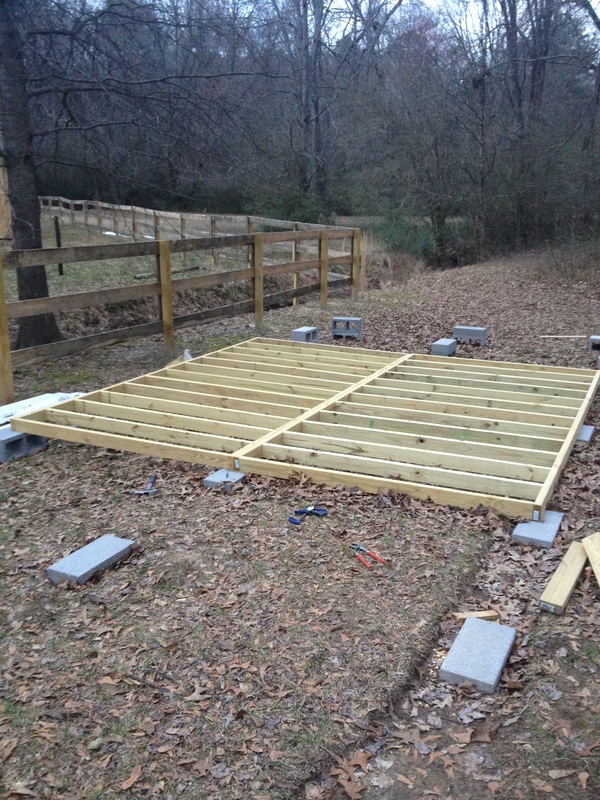
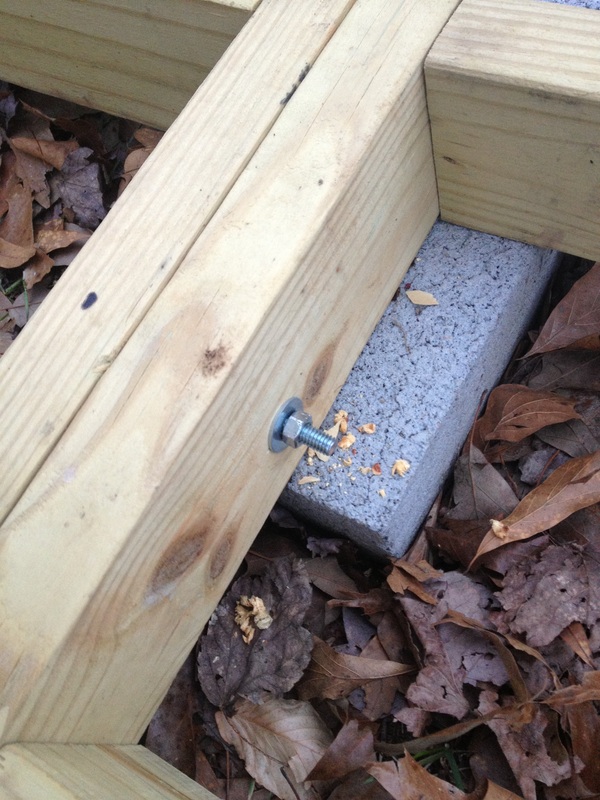
In this step we will be framing the flat (middle) section of the half pipe. This section will be built out of two identical 12 ft long x 6 ft long frames. Start by cutting out all your 2x4s to length. Don't forget to trim the 12 ft long 2x4s because they will actually be a little bit longer then 12 ft when you get them. Now that you have everything cut out start by making a 12x6 rectangular frame. After the frame is built proceed to screw in the remaining 2x4s evenly spacing them (refer to measurements in Design Step 3). Use four screws per 2x4. Next build the other 12x6 frame and then bolt them together between every other 2x4.
 |  |
Tools needed for this step:
- Power Drill
- Tape Measure
- Carpenters Pencil
- 5/16" Drill Bit
- 17 - 2 x 4 x 12 Pressure-Treated Lumber = $6.27ea.
- 2 - 1 lb box #9 x 2-1/2 in. Tan Polymer-Plated Flat-Head Star-Drive Wood Screws = $9.37ea.
- 6 - 5/16", 4" Long Carriage Bolt w/ washer and bolt = $0.69ea.
