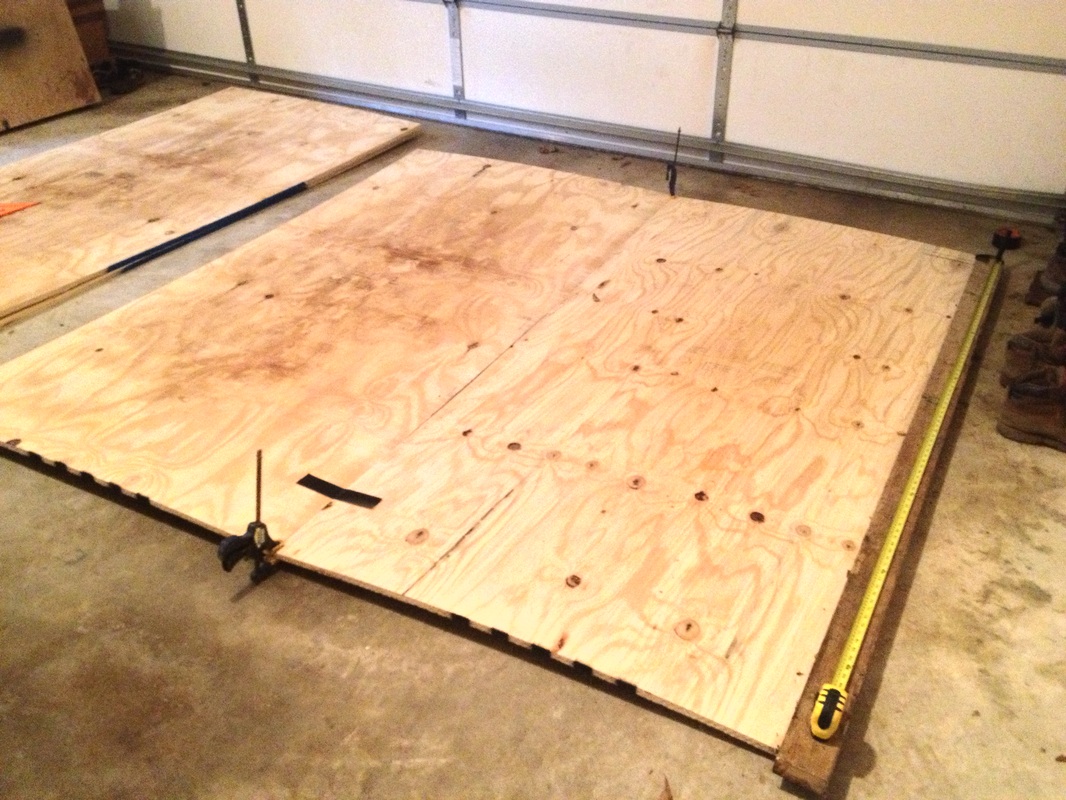
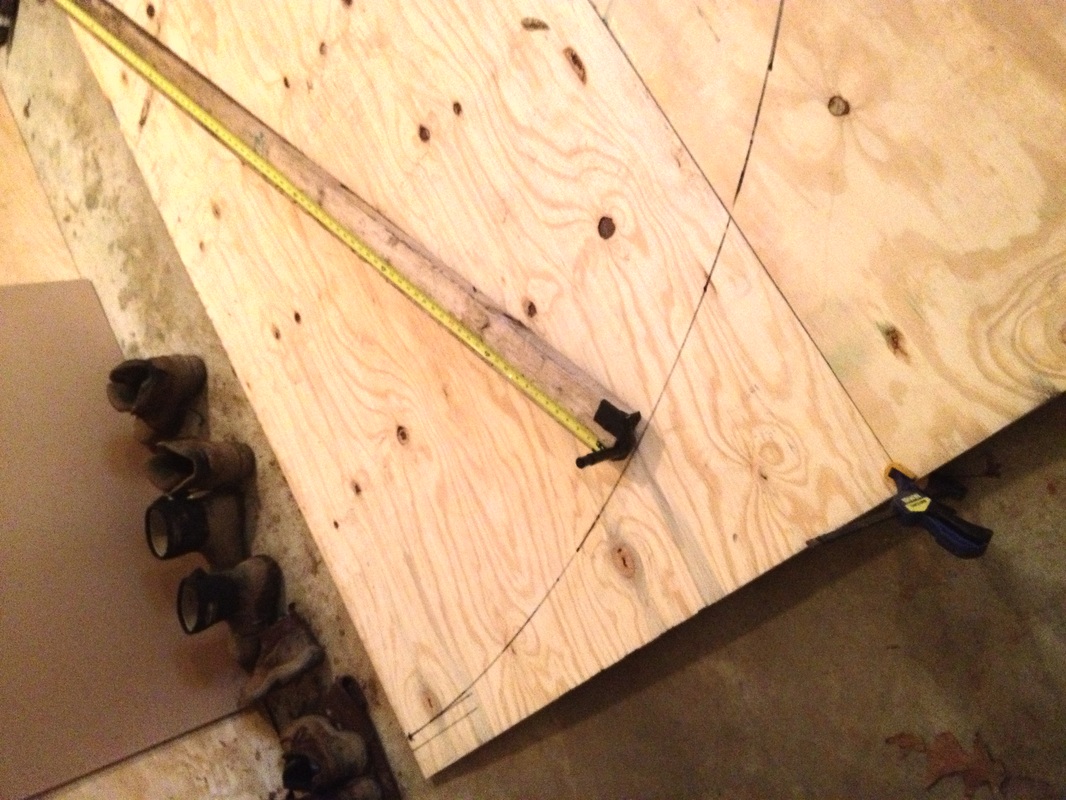
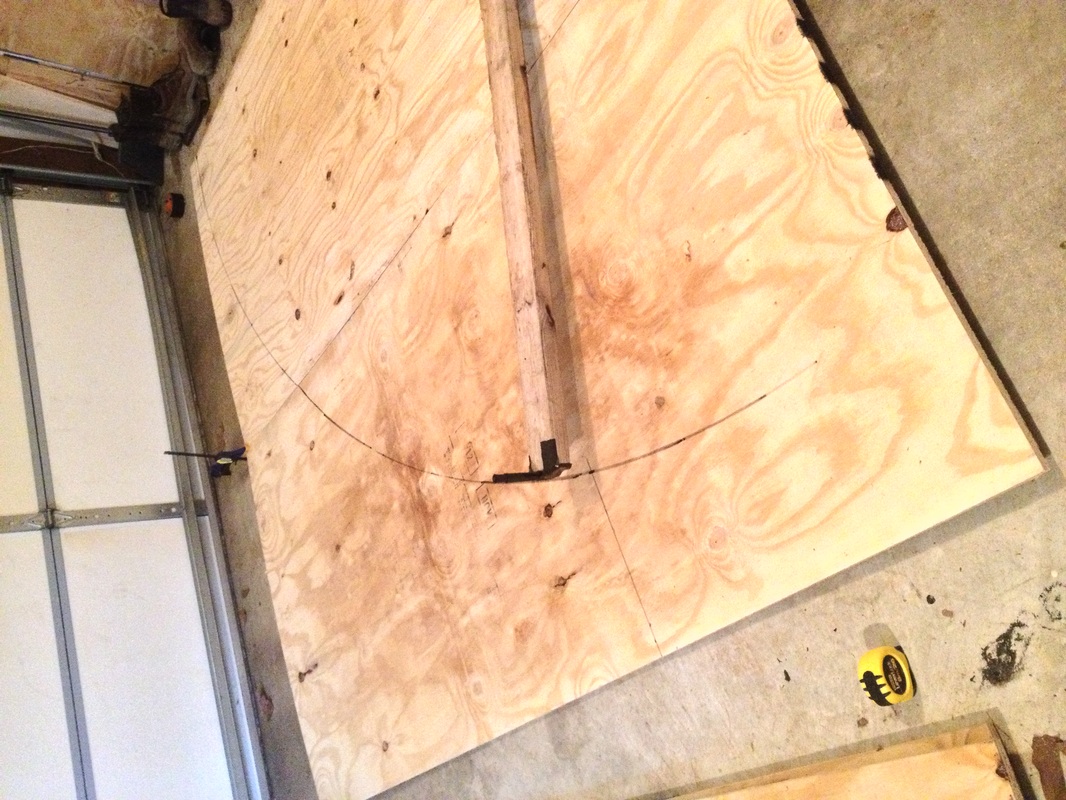
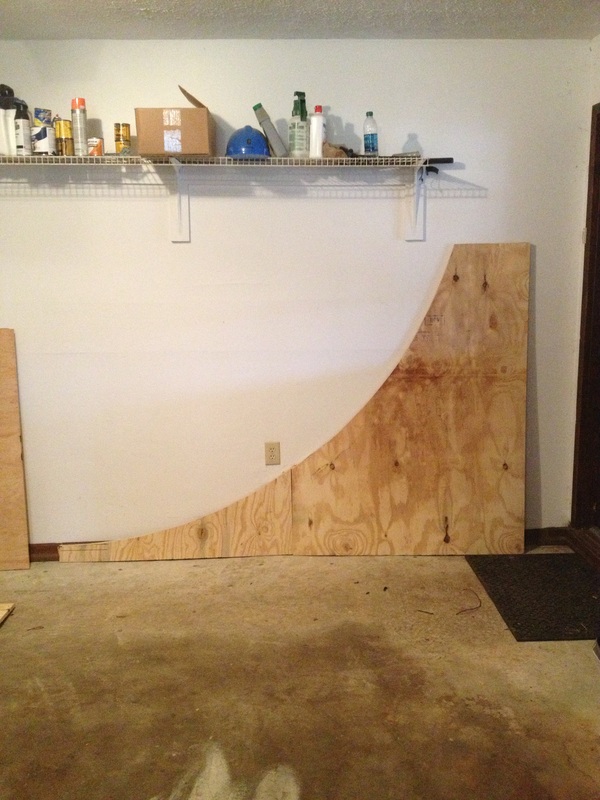
This step is all about cutting out the sides (transitions) of the ramp. The sides are built out of ¾” thick plywood. You will need 8 of them for this ramp design. Start by laying out two sheets of plywood on a flat surface and butt them together along the 8ft sides. Now it’s time for the most import part, drawing the arc that will be your transition. Refer back to the radius that was decided on in Design Step 4. This ramp is using a radius of 7ft. Grab a 8ft long 2x4 and put a 2” screw in one end about one or two inches from the very end. From that screw measure 7ft and mark it. Now you can either drill a hole through the mark large enough for a pencil to slide through or cut the 2x4 at the mark and tape a pencil to the end. If you are going to tape a pencil just make sure your account for the pencil thickness in your overall measurement. Next, go to any corner of the plywood and measure 3-1/2” along the 8ft side. This will be where you place the pencil tip. Once the pencil location is set, screw in the other end of the 2x4 to the plywood. Begin dragging the 2x4 along the plywood and it should be drawing a perfect arc. After, your arc is drawn switch to the mirrored corner of the plywood where you made the 3-1/2” measurement. From here measure up 5’ 2-1/2” along the 8ft side. This is the ramp height. From the 5’ 2-1/2” measurement draw a straight line perpendicular from the 8ft side until it intersects with the arc. You should now have a complete outline of the side of the ramp drawn across the two sheets of plywood.
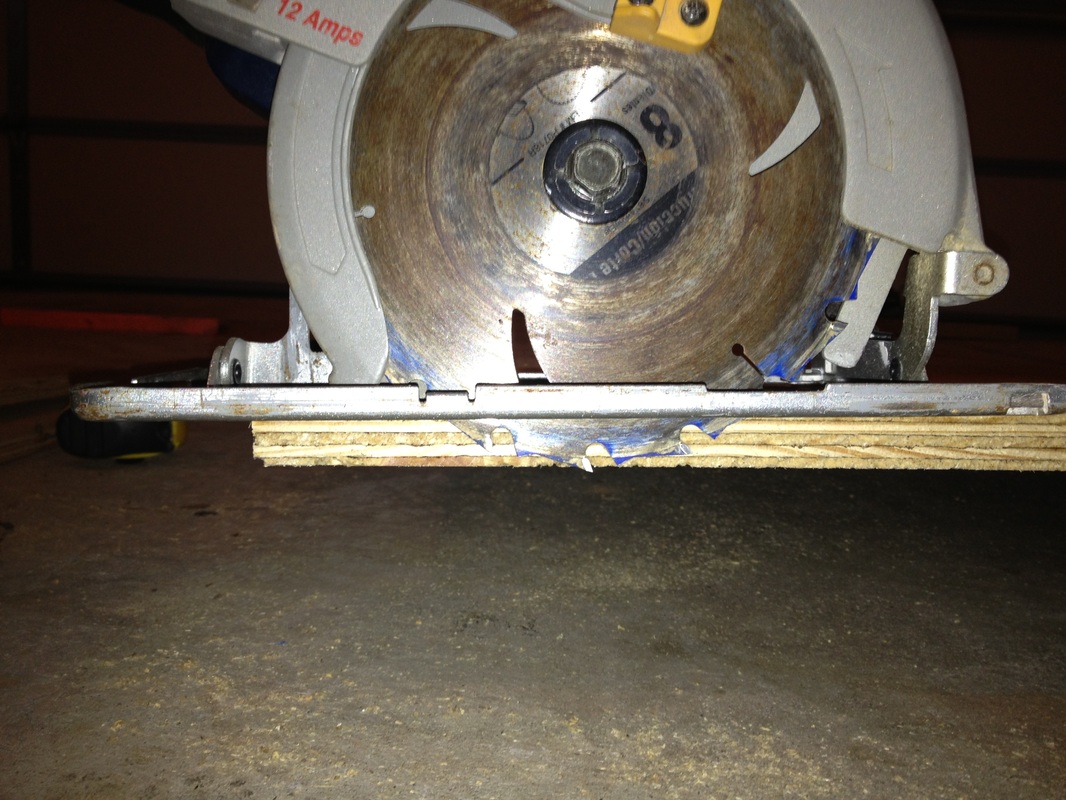
Use a jigsaw or circular saw and cut it out. If you’re going to use a circular saw lower the base plate so the blade is just barley longer then the plywood, this will make it easier to follow the arc when you’re cutting. You can now use the side you just cut out as template to draw the rest.
Tools needed for this step:
- Circular Saw or Jigsaw
- Tape Measure
- Pencil
- Drill Bits or Duct Tape
- 5 - 23/32 in. x 4 ft. x 8 ft. BC Plywood = $26.00ea.
- 1 - 2x4x8 Lumber = $3.00
