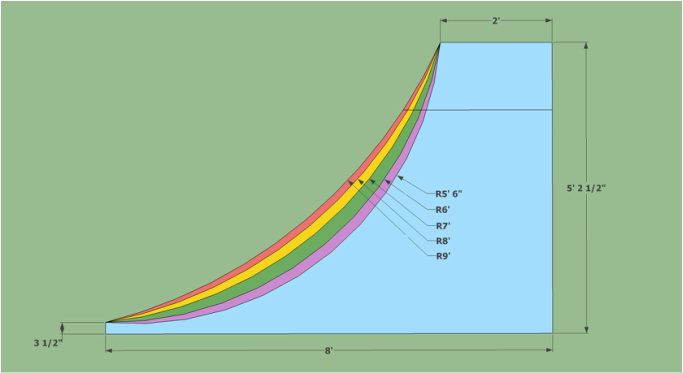
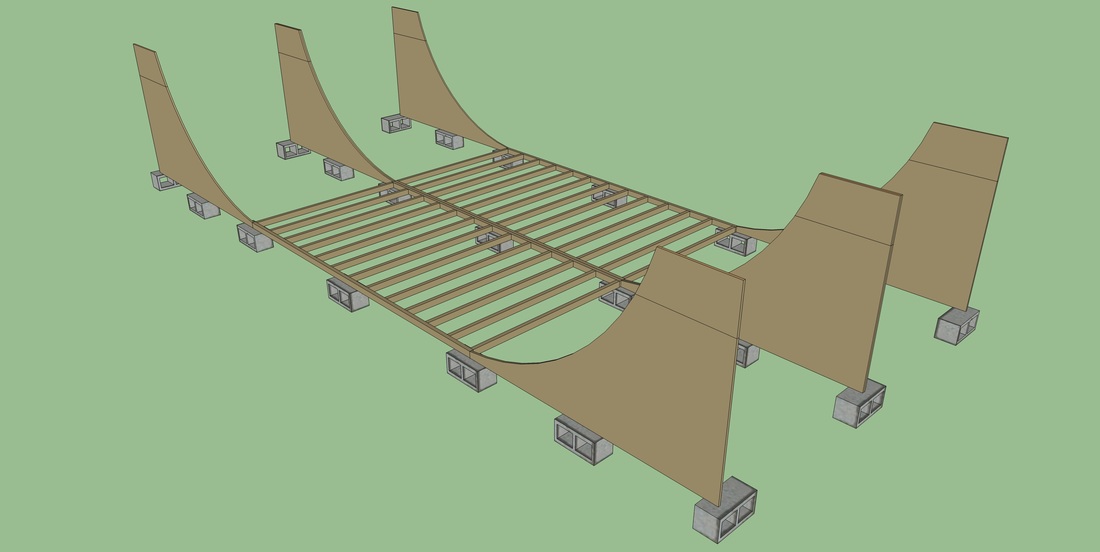
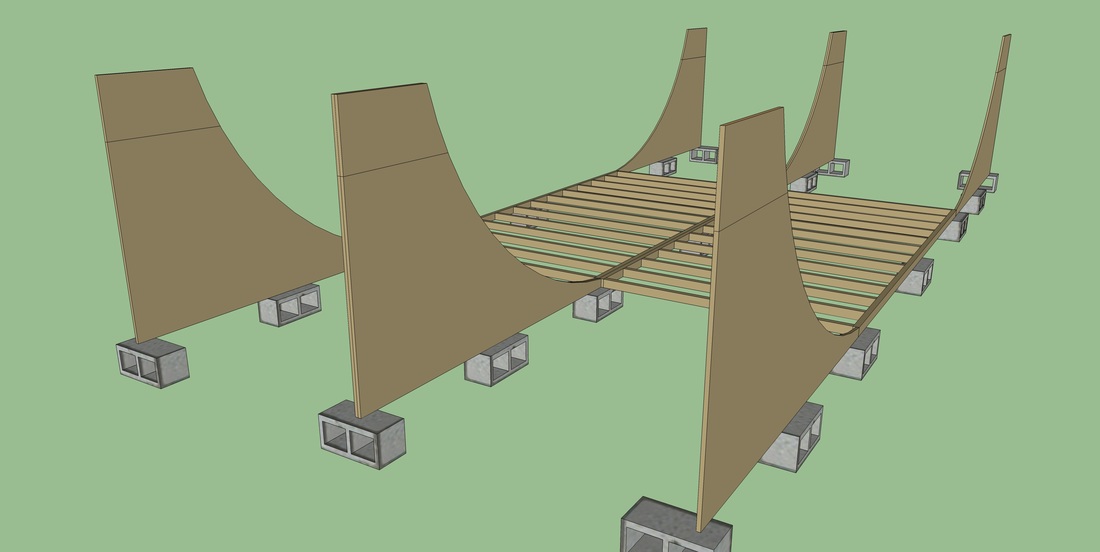
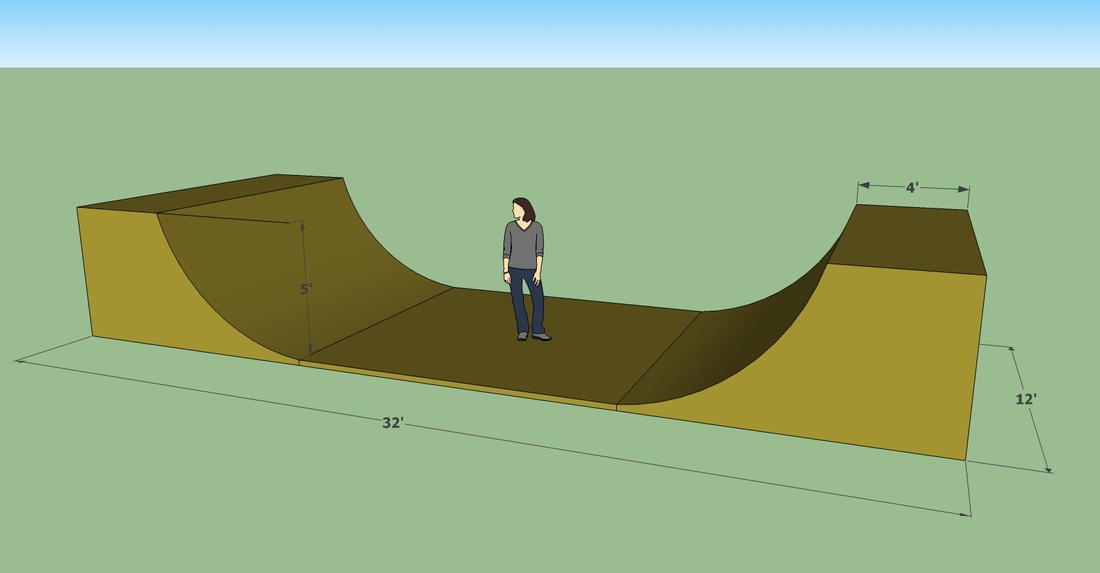
Transition…the most import part of the half pipe. The transition is the curved section of the ramp that goes from the flat bottom to the deck. Getting this right is crucial because a transition that is too steep or to mellow will not be fun to skate and your half pipe will turn into a giant lawn ornament. There is no equation for the perfect transition radius, the best thing to do is to draw out several different radii in full scale and select which one looks best to you. You could even draw and cut a few out on some cardboard and compare it to some local ramps or bowls in your area. I used computer software to design mine, but I’m still going to draw it out and think about it long and hard before I cut it out. Currently it’s a 7 foot radius. The radius should always be bigger than the height of the half pipe and the larger it gets the mellower it will be.
|
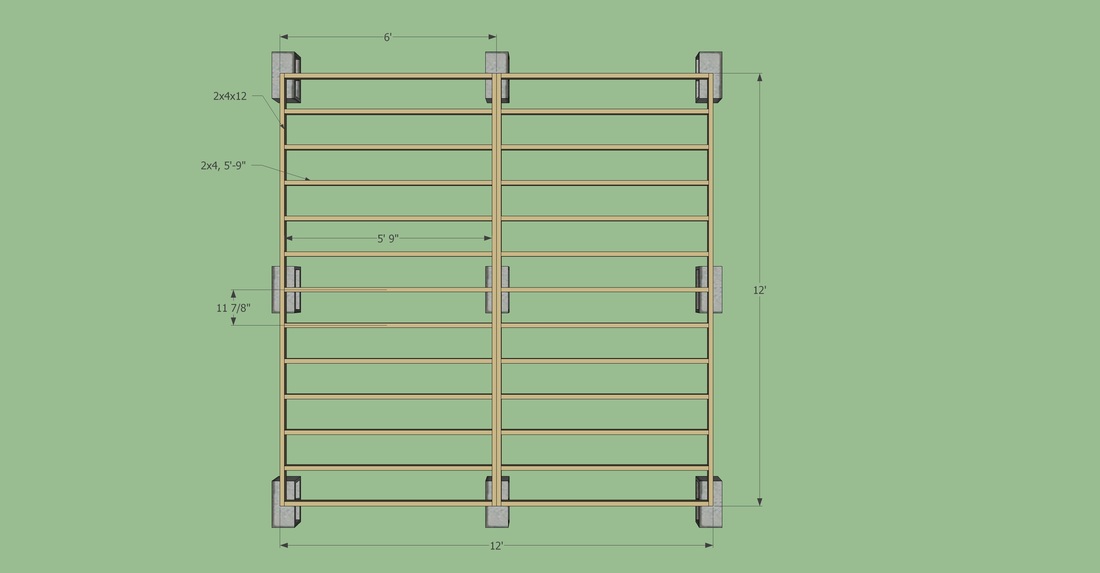
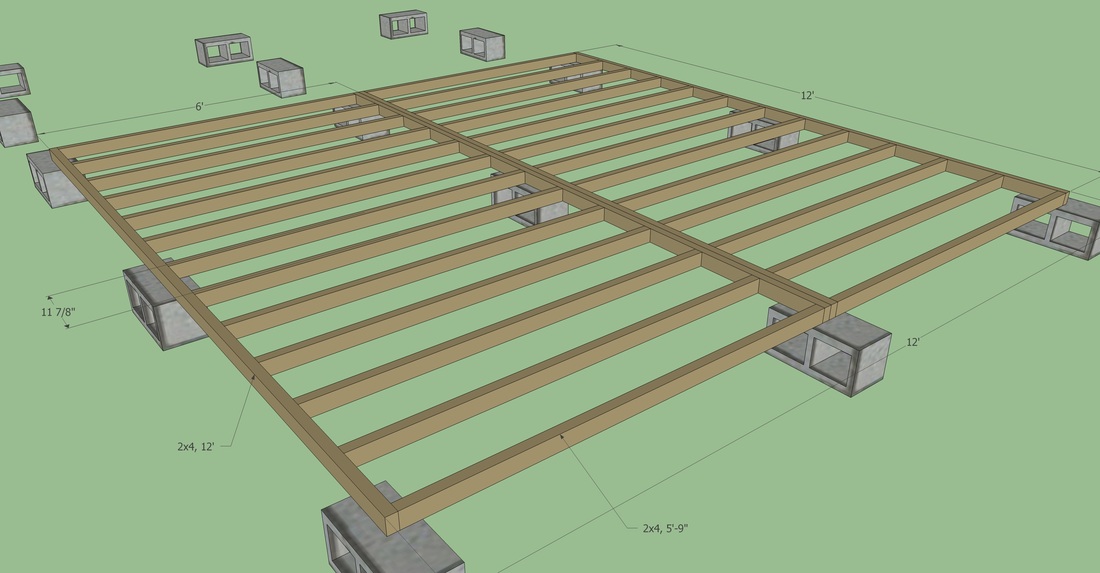
The goal here is to space your studs so that you don’t bust holes through the plywood as you roll across. This is not a heavy impact zone, so you can get away with a wider gap between studs than on the transitions. I plan on using ½” thick plywood on the flat, so 12” spacing or less should be plenty. In order to keep things symmetrical the studs will be placed 11-7/8”, center to center.
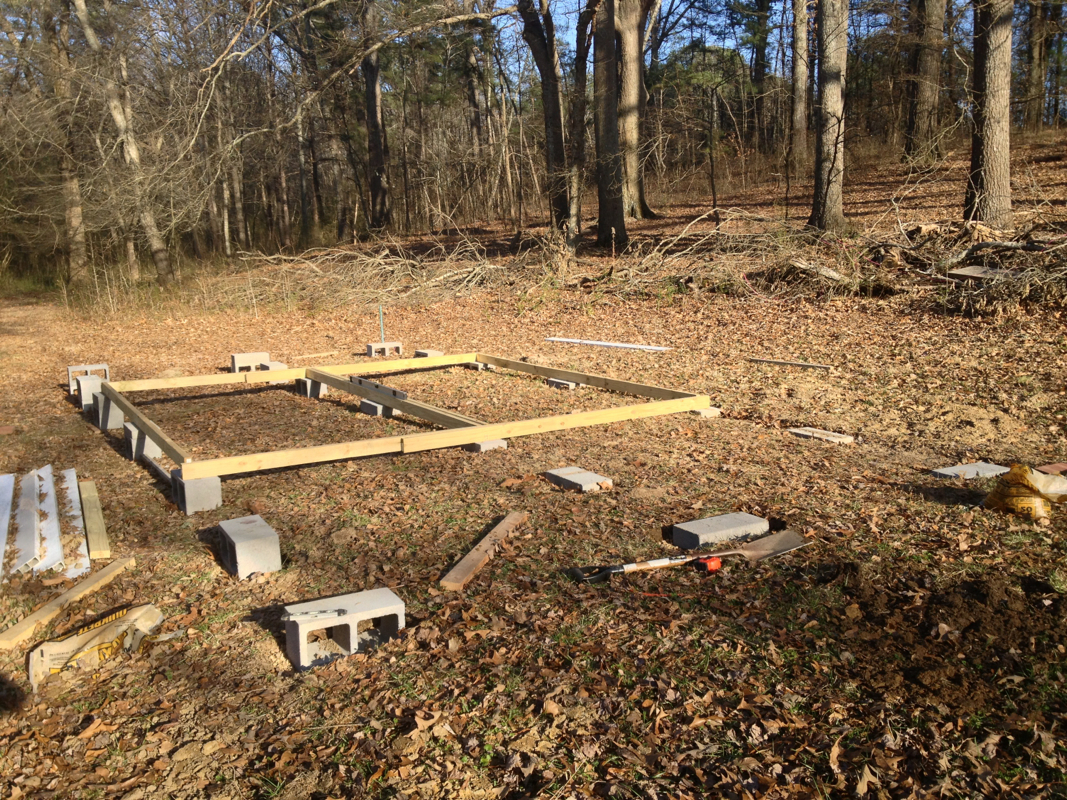
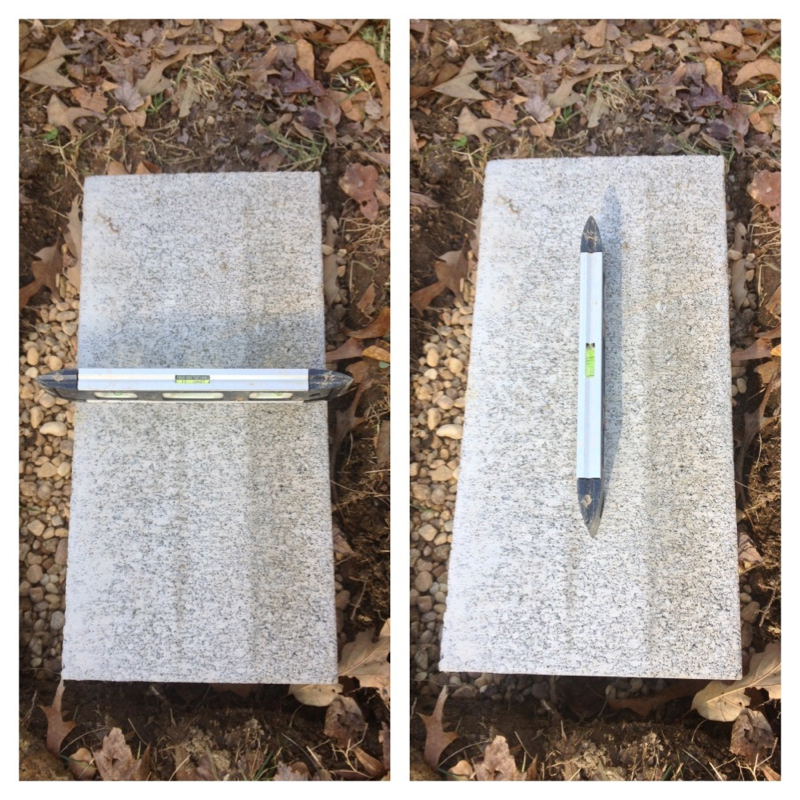
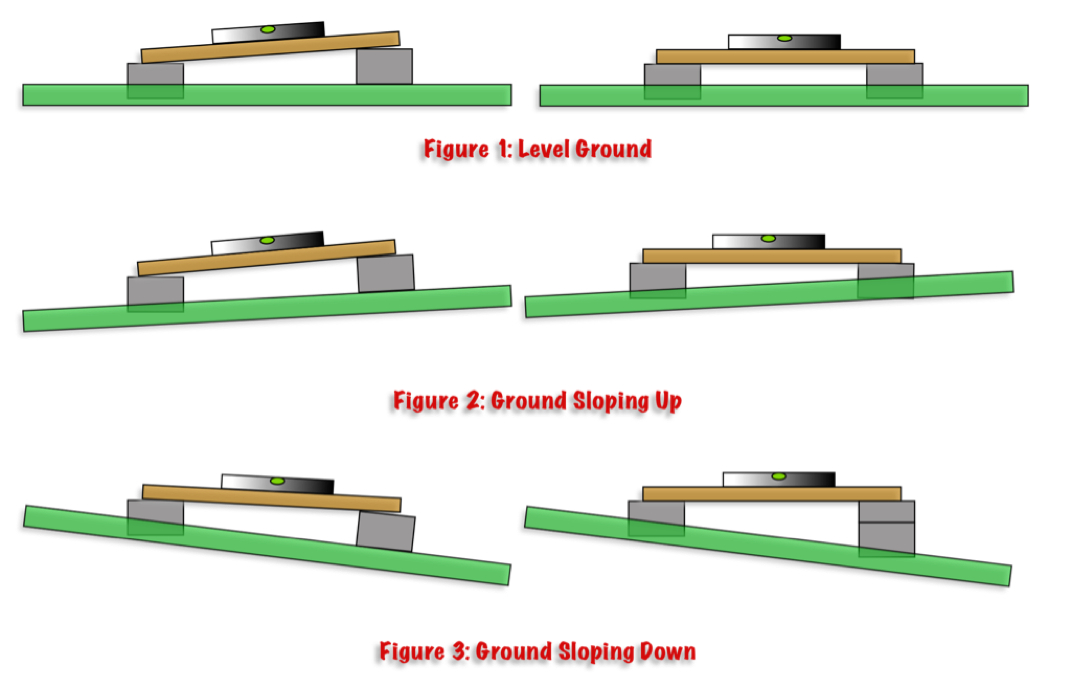
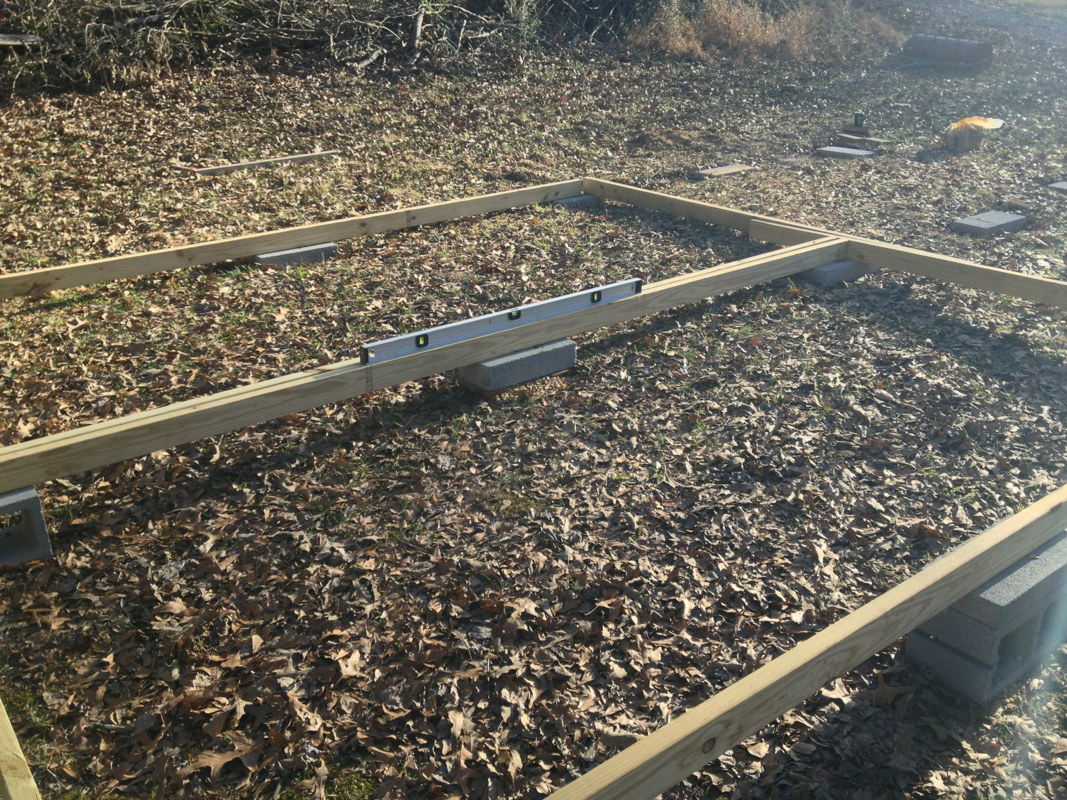
Awwww yeah got the foundation all leveled up. I would highly recommend finding a very level area to build your half pipe. The area I chose had about a 16" difference from corner to corner. This made it more difficult than it needed to be. I ended up purchasing several different sizes of CMU blocks to make it work. Start leveling the block that is at the highest point on your site. Once you have figured out what block that is begin by digging a rectangle around it. Your rectangle should be about 2" bigger on all sides than the block. Dig it about 3" to 4" deep and try to keep the hole even. Once you have it dug out pour about 1/2" of gravel in to cover the whole base then smooth it out with your hand. Next, set your block down on the gravel in the center of the hole and check if it is level using your torpedo level along the X and Y axis of the block (see pictures below). If it is not level then add or take out gravel until it is. You may even have to dig a little more. Now you’re ready to move to the next block. Place a 2x4 piece of lumber, skinny side down, across the block you just leveled and the next block. Place your 4' level along the 2x4. Depending on the location of the bubble you will need to either add another block or dig further down (see Figures 1 – 3). Note, if you are adding another block it is still a good idea to dig a couple inches down and add gravel. There are several different thickness of blocks available so it may benefit to have extra various sizes with you, especially if you have a site like mine. After you have leveled the second block repeat this step 19 more times!! When your done ever block should be level across the X and Y axis and the top of each block should be at the same elevation. Tools needed for this step:
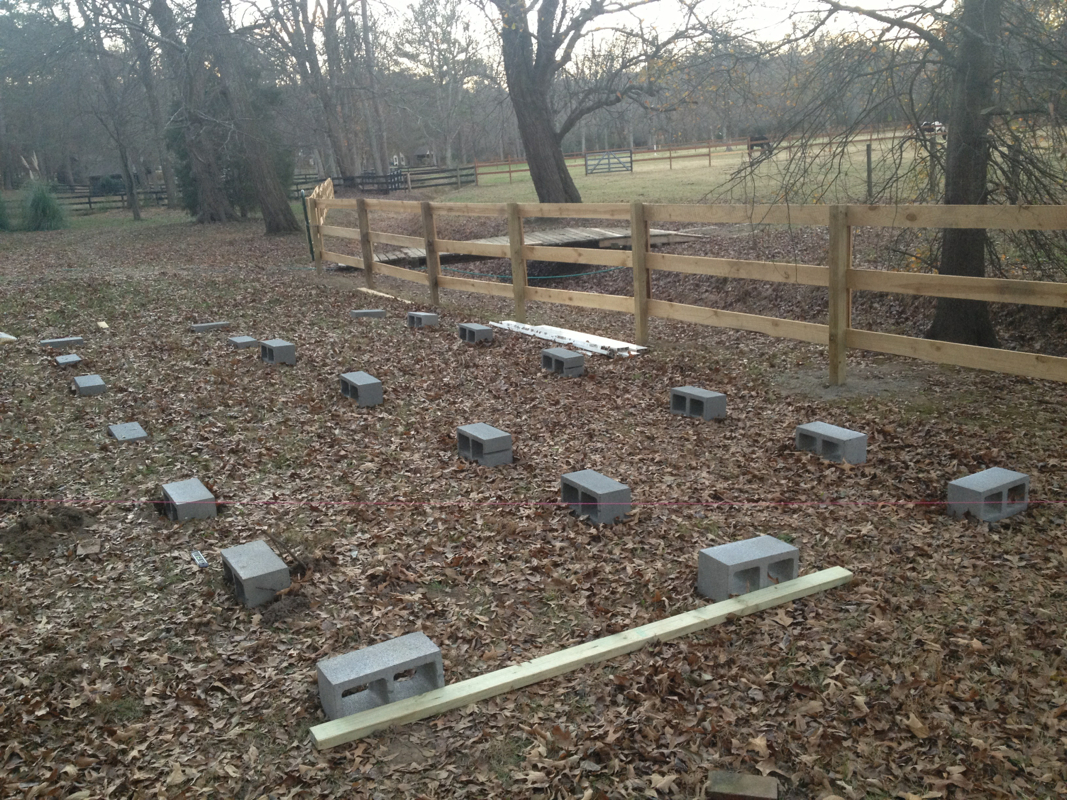
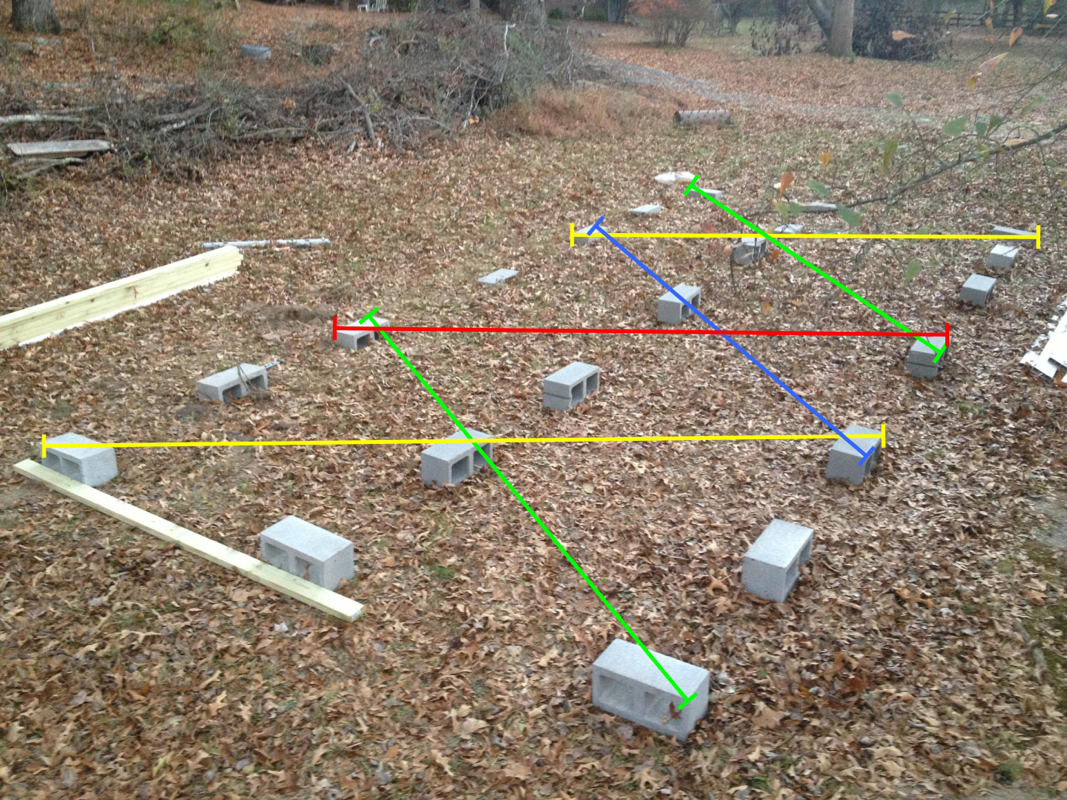
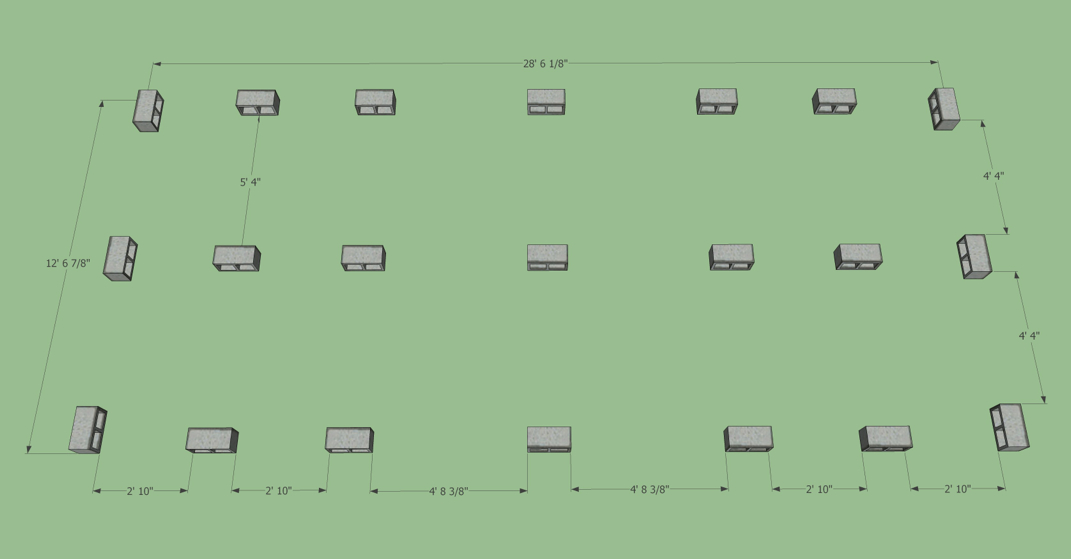
Finally got all my foundation blocks laid out! You will need 21 blocks for this design. The blocks you will need are 8x8x16. My site is a lot lower on one end then the other so I got some thinner blocks (4x8x16) for the low side. Before you start laying out your blocks I found it super helpful to cut three pieces of scrap wood to the three dimensions between the blocks. (1 = 2'10", 1 = 5'4", 1 = 4' 8-3/8") This will save from having to pull out the tape a thousand times. Getting somebody to help you with this would also save a bunch time. Once you have them all laid out you want to check and make sure they are square. You do this by measuring diagonally across the blocks. I broke it up into 3 sections, see above picture. The green lines should = the yellow lines and the red line = the blue line. Next step is to start leveling the blocks. Tools needed for this step:
Materials needed for this step:
Finished the foundation layout design. In my next post I should have some real pictures and I'll discuss the techniques I used to layout a square and level foundation.
When deciding what size half pipe you wish to build, consider things like space available, skill level, and how you want to skate your half pipe. I would like my half pipe to be some what a challenge and to allow for progression. I also don't want it to be a monster so one day my kids can learn on it. I'm really not limited to space since I live on a small farm but I would like to be skating sooner then later...I don't want to be building forever. You can always expand the width later. Taking all this in to consideration, I have to decided go with a 5 foot tall x 12 foot long half pipe.
I will need approximately 384sqft to build this ramp. This is with 4ft wide decks, which I may or may not decide to increase. I have also quickly decided on 12ft long of flat, this may also change. Increasing or decreasing these two variables will have an effect on the space needed, so I'll will need to lock them down before doing any layout.
|
HOW TO DESIGN A HALF PiPE
All
HOw TO BUILD a half pipe
All
|
